Did you know that you can create an eight page folded card or booklet from a single sheet of paper?

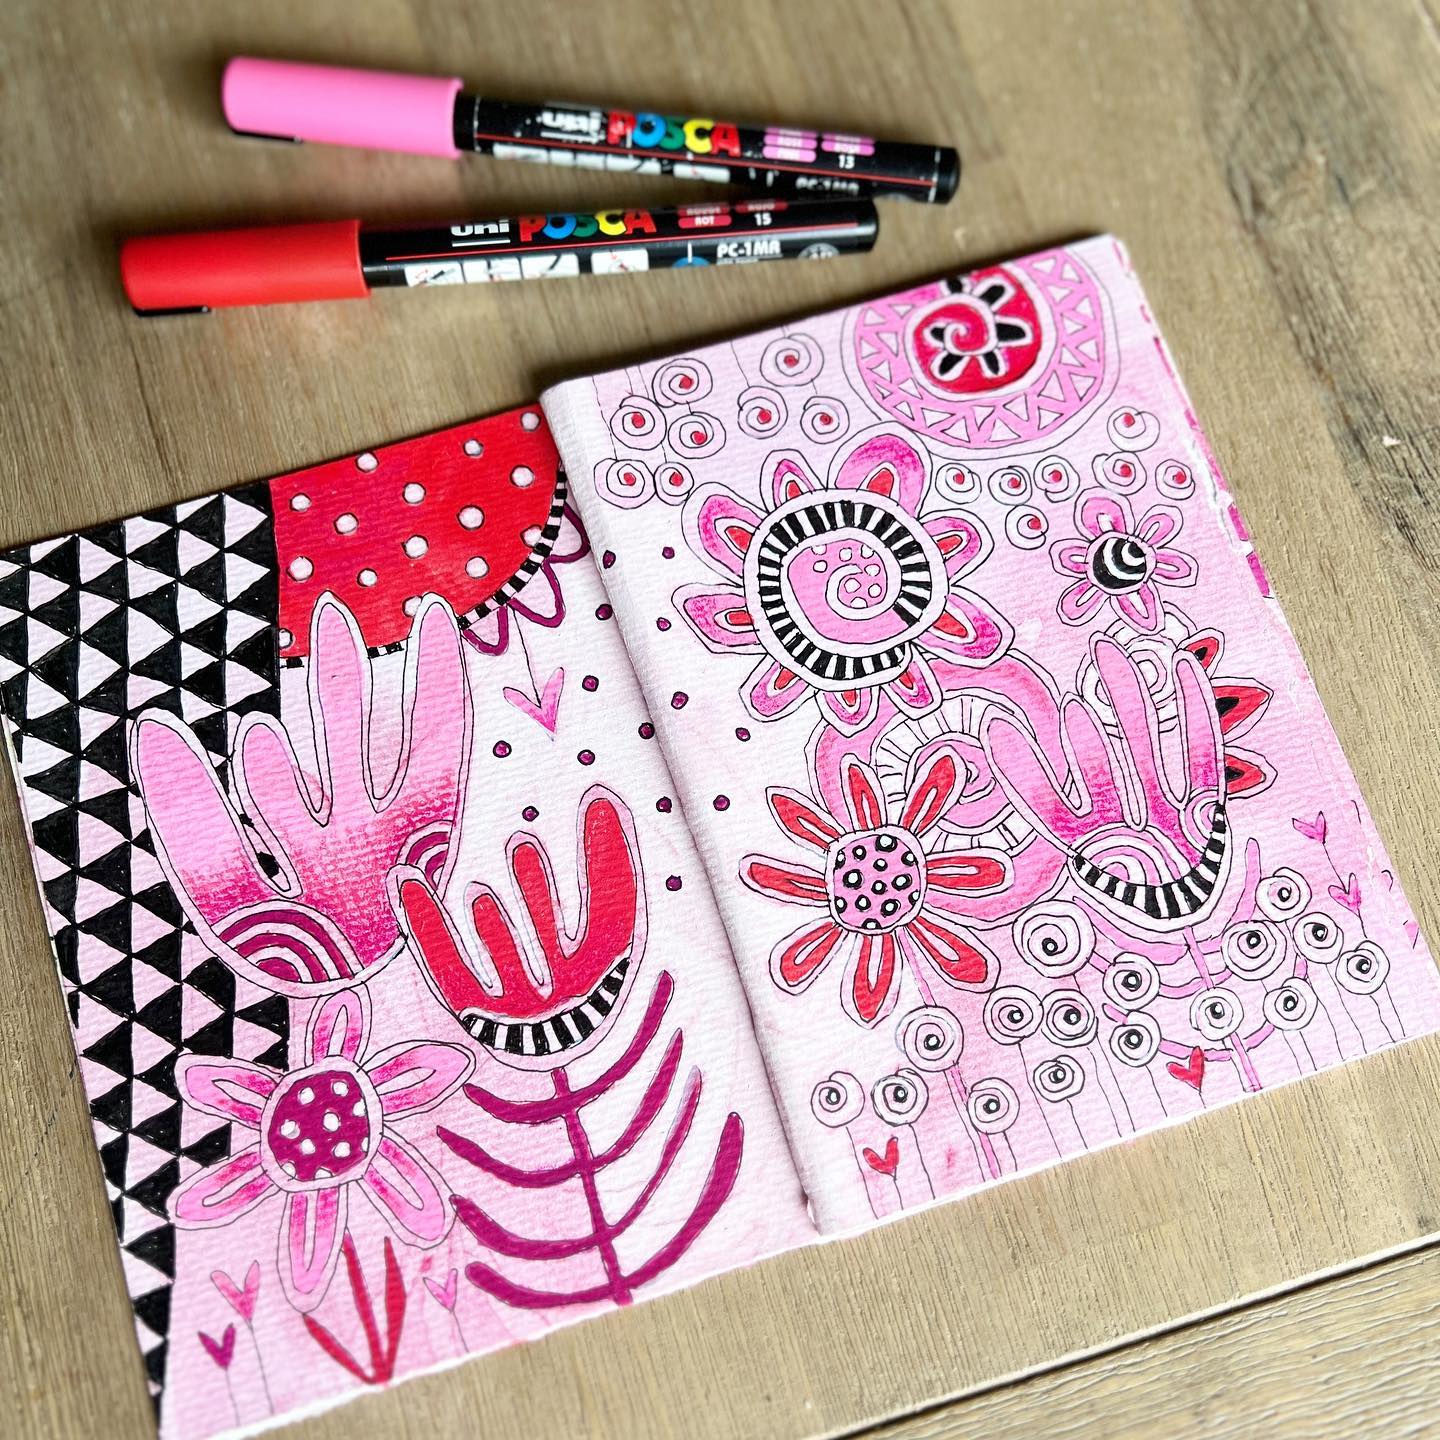
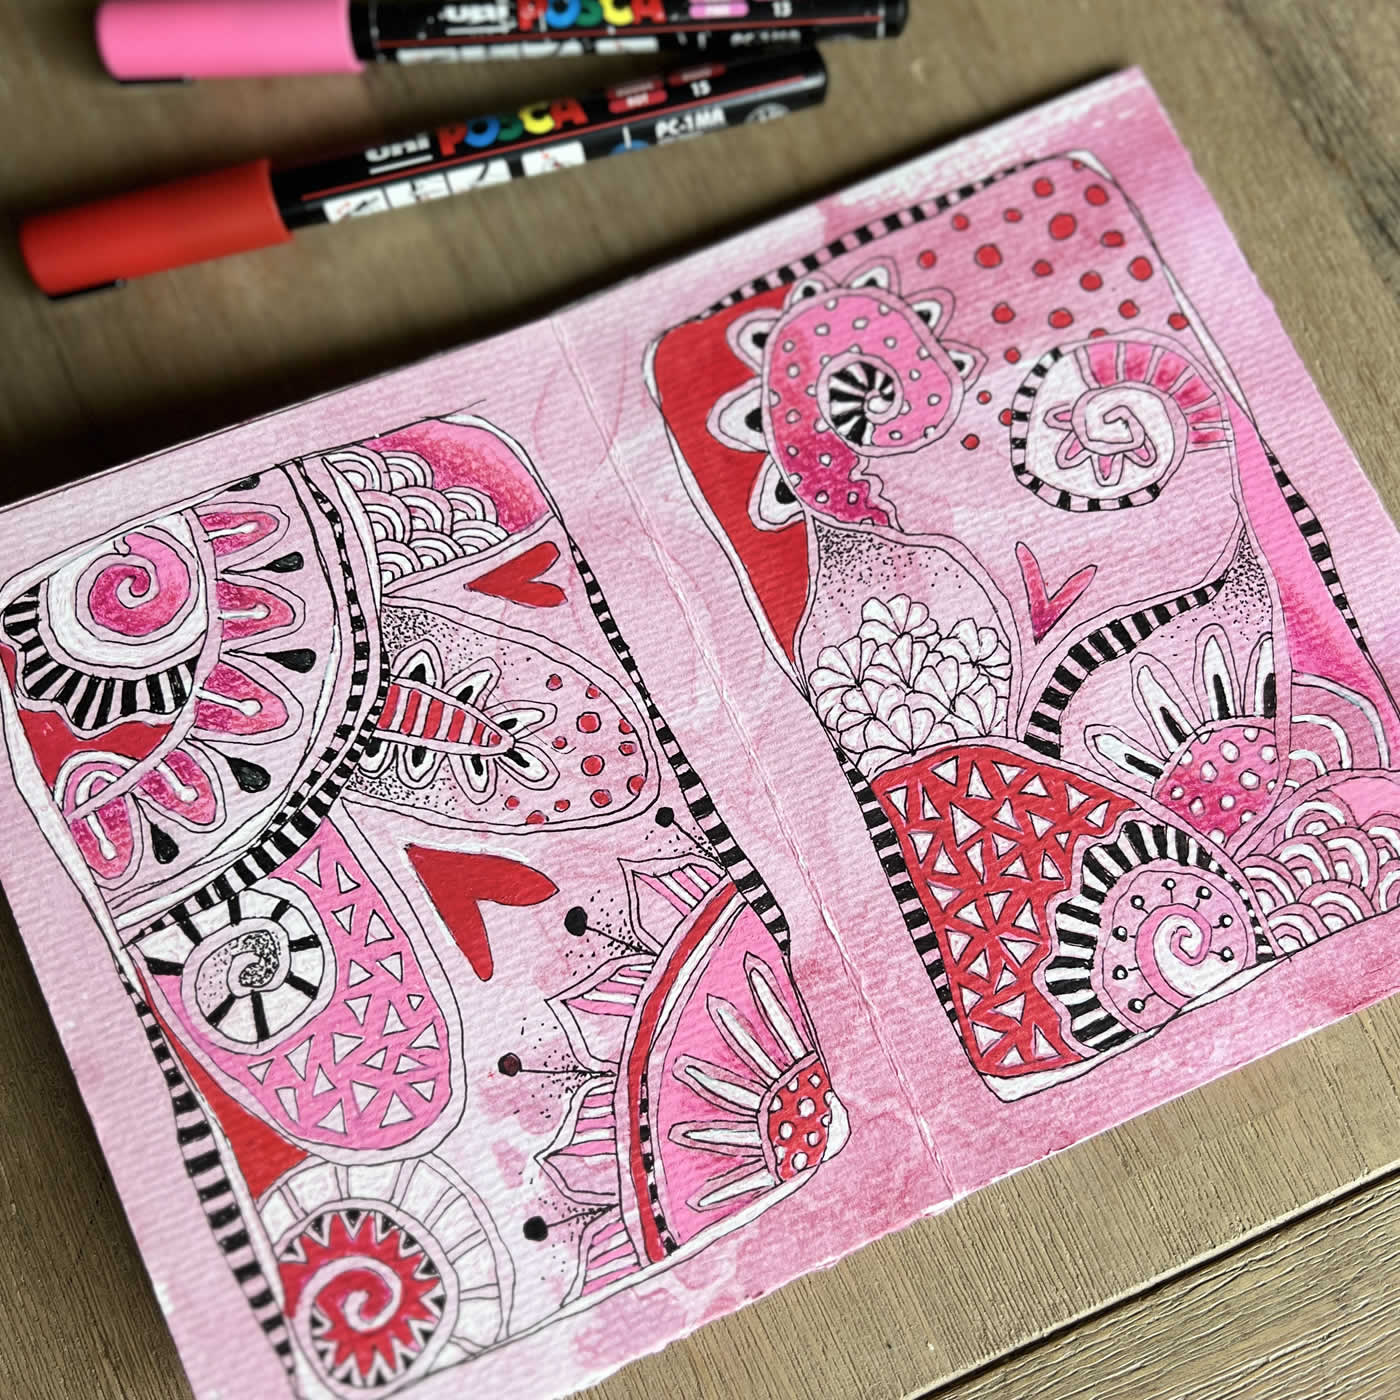
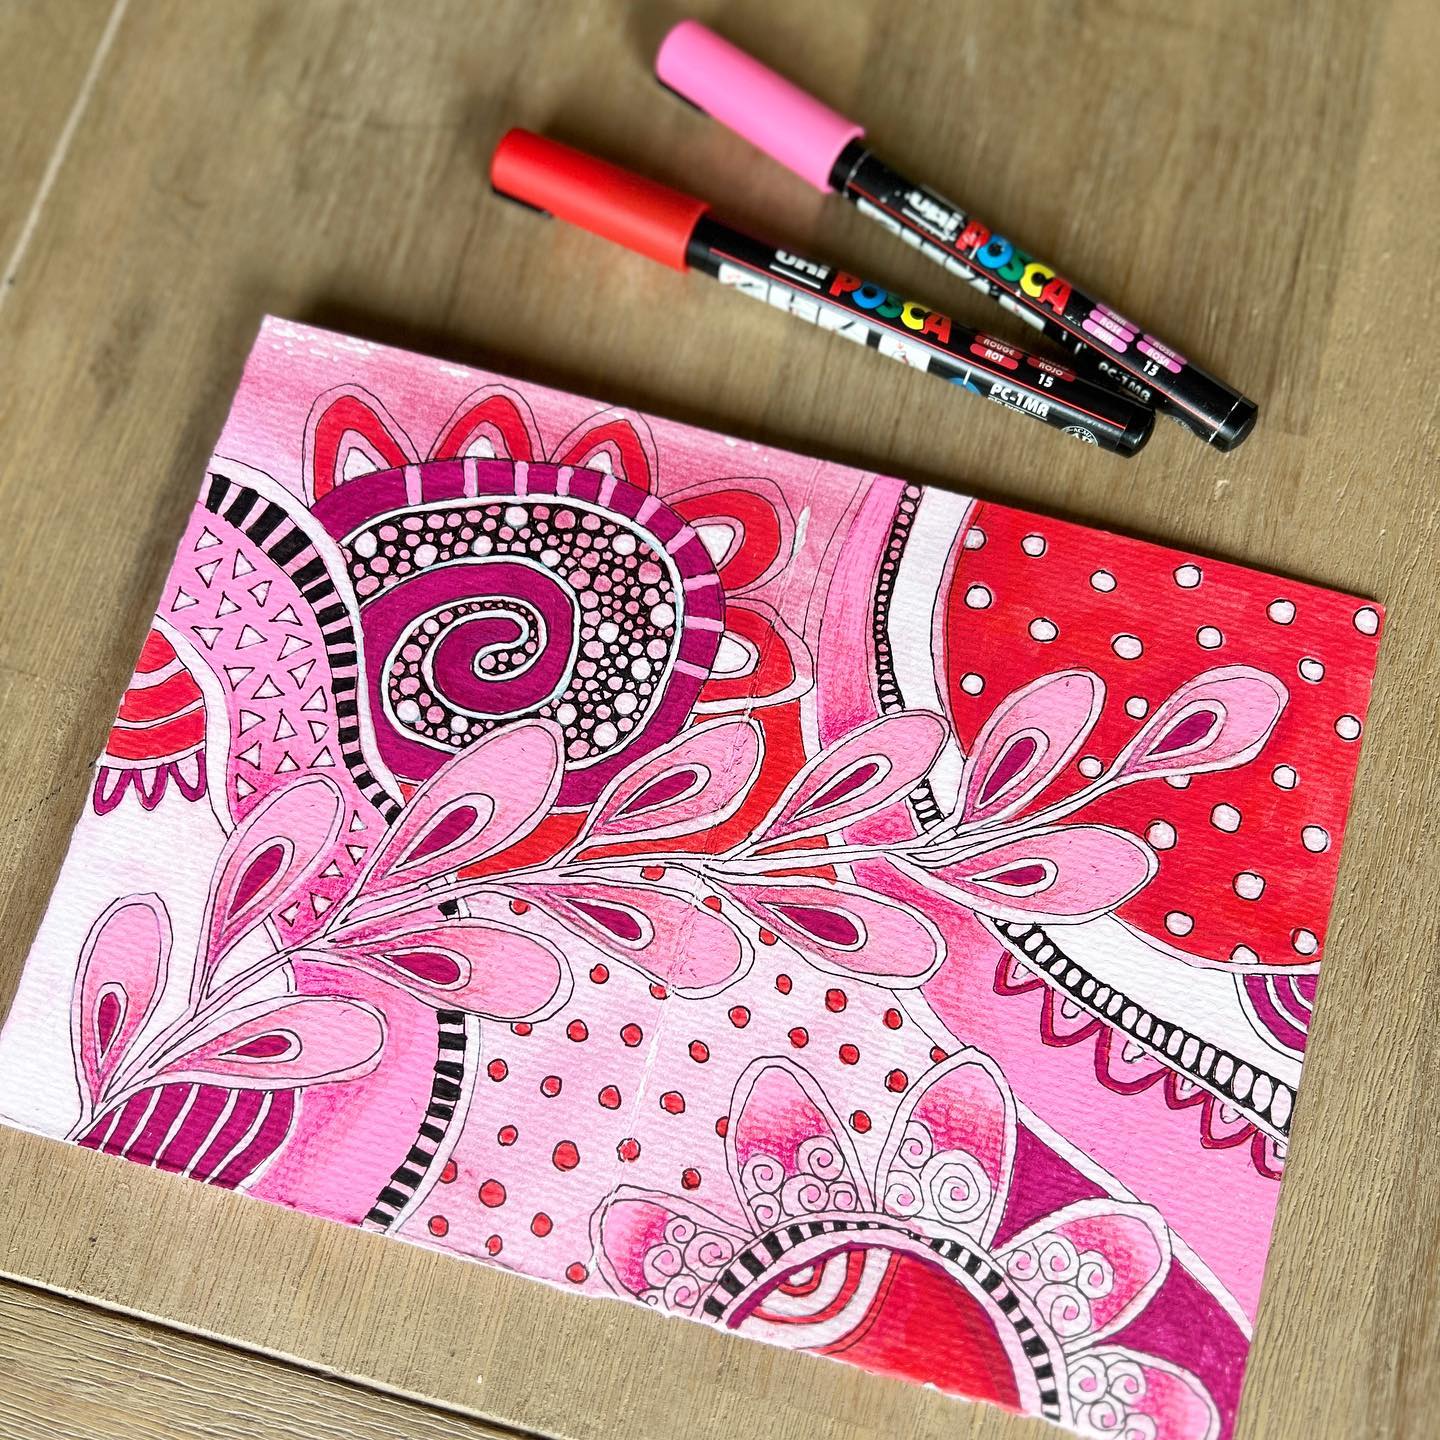
Creating folded books can be a fun and rewarding activity that allows you to explore your creativity and emotions in a unique and personalised way. With these tips, you can get create on your own mini art journal and begin to discover the benefits of simple creative practice. I was inspired by this post from Helen Wells on how to create one page sketchbooks. Her blog and classes are also really interesting.
These are my step-by-step instructions to folding a single sheet of paper to form an eight page booklet.
Step 1 Choose your paper
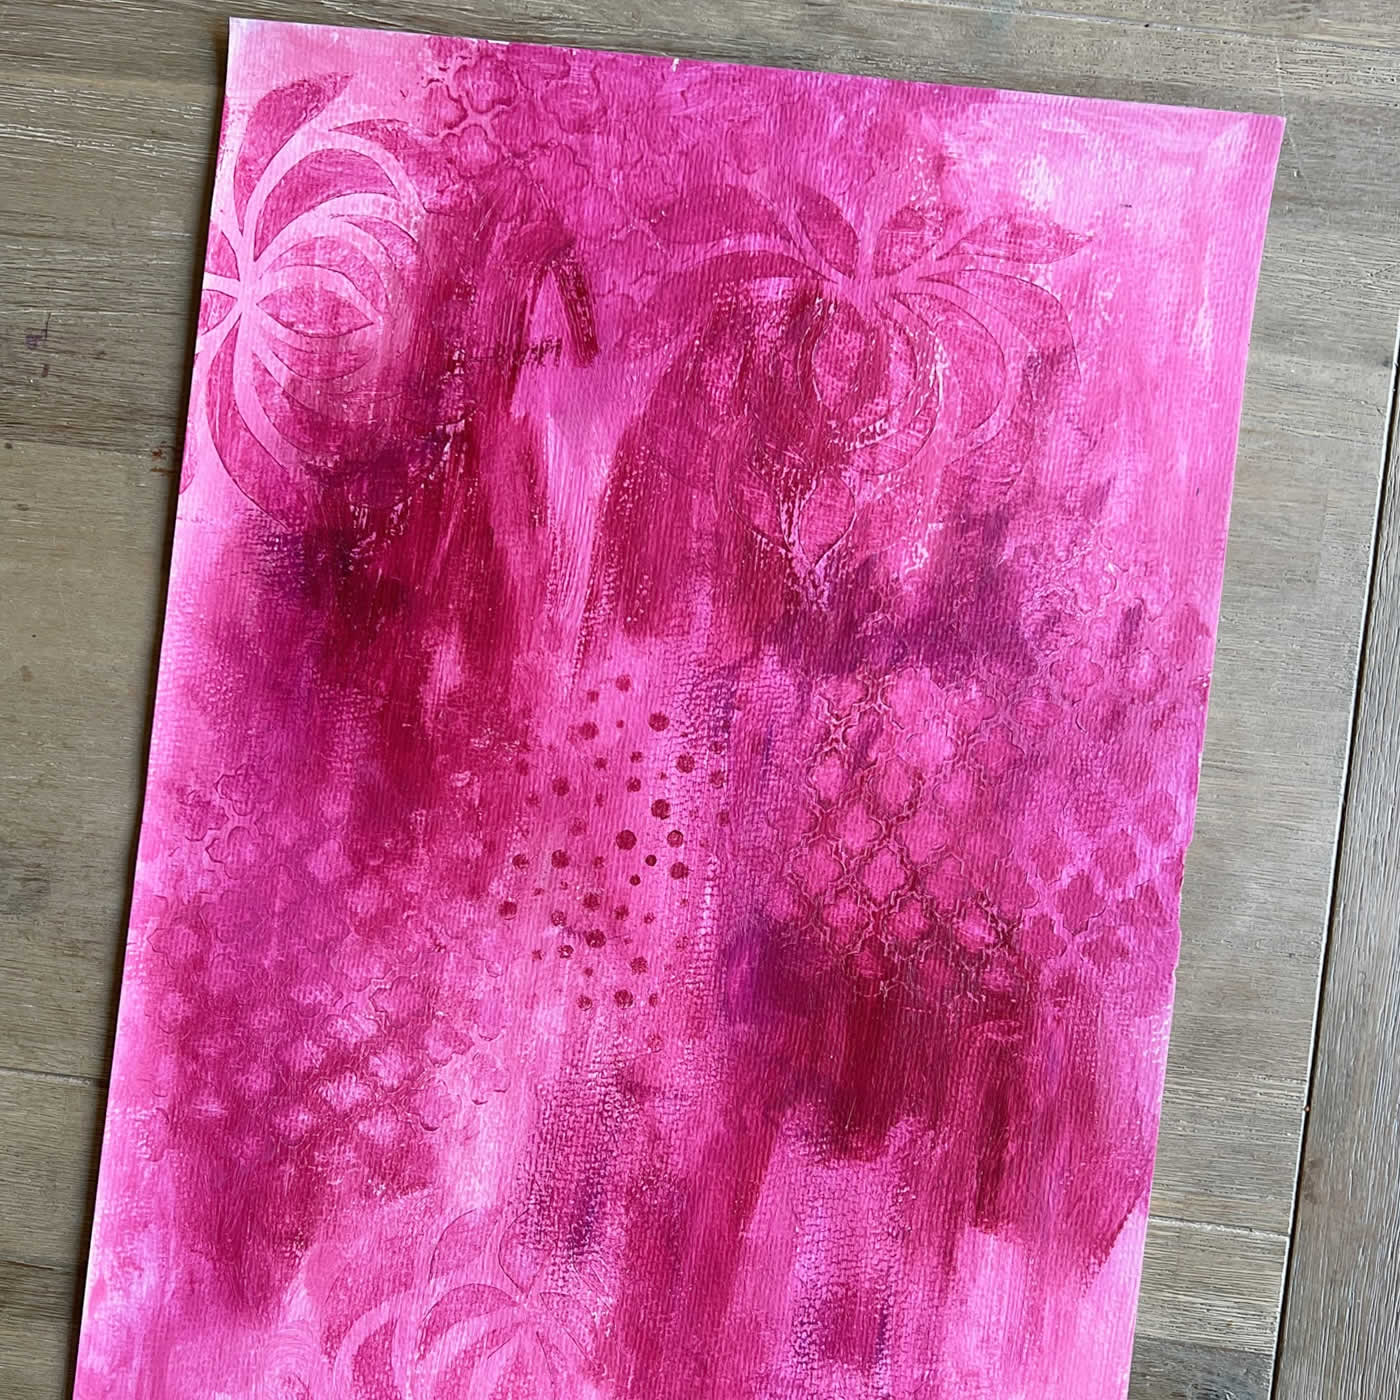
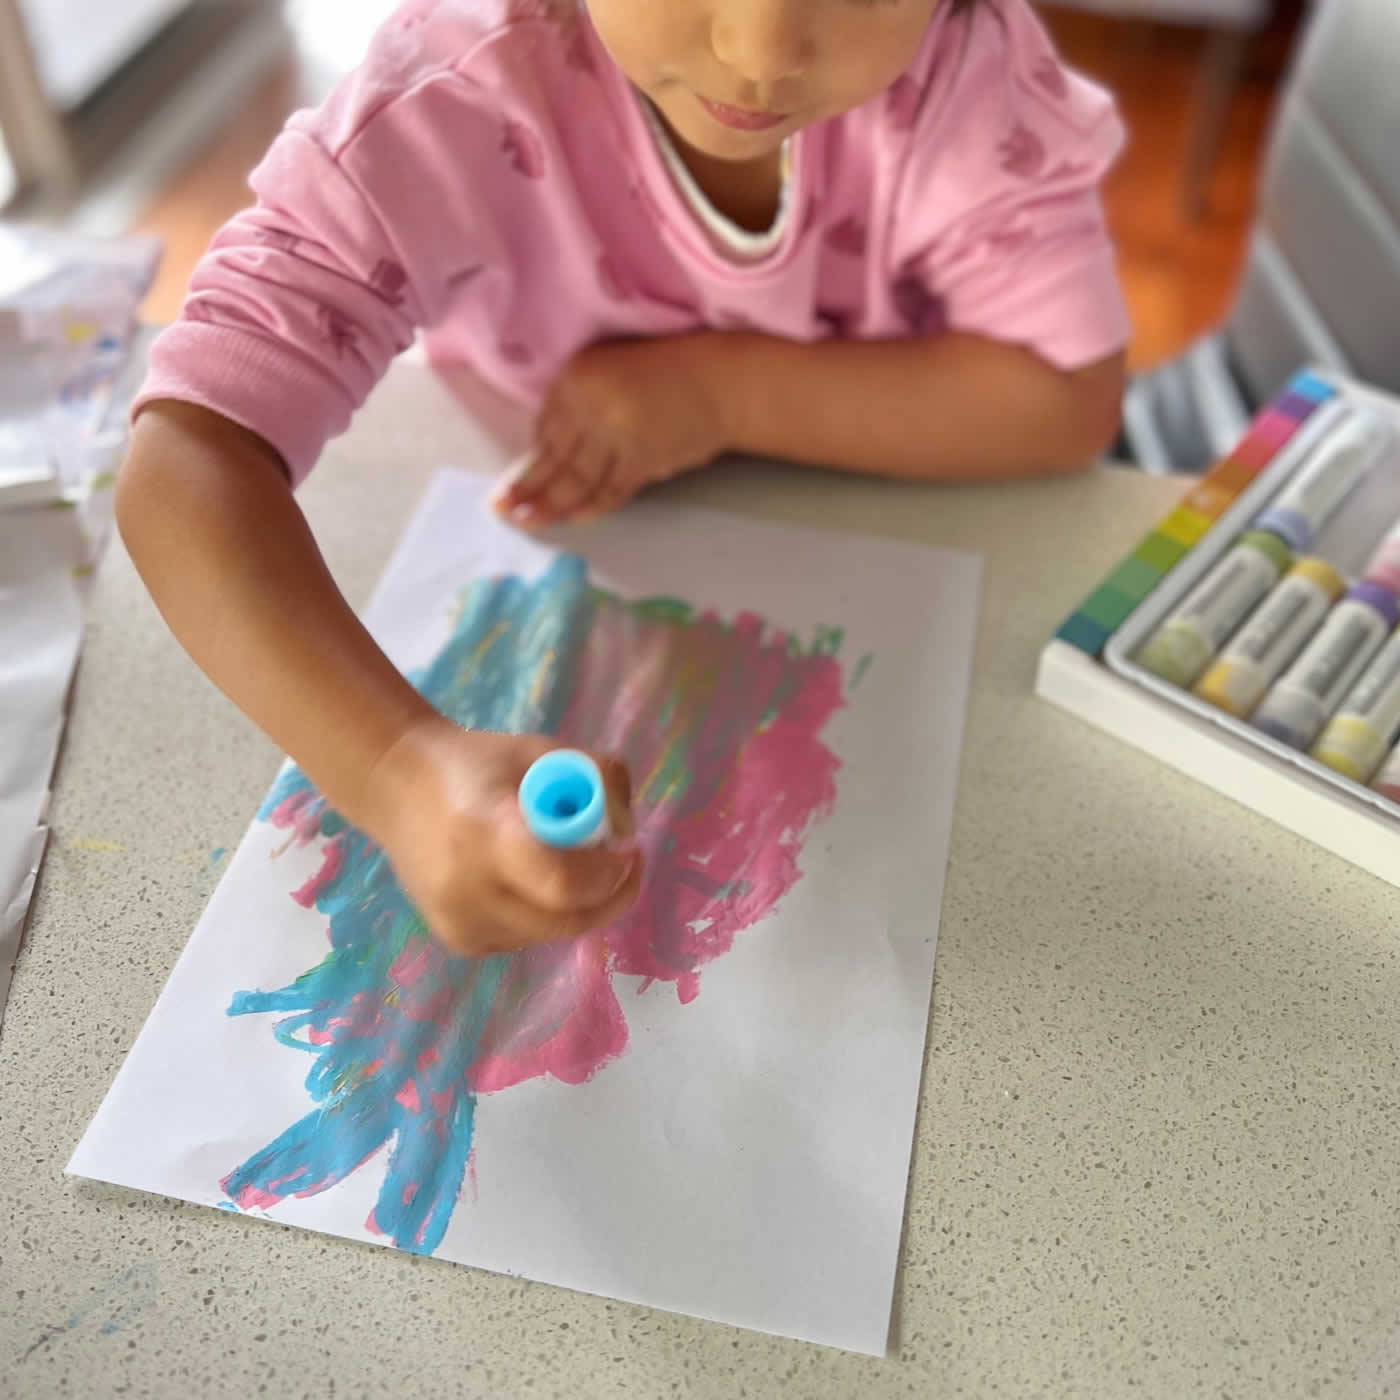
Start with any size paper or card—plain or painted (like in my step-by-step photos). This sheet is A3 size, 300gsm watercolour paper that I had decorated first with mixed media but you can use lighter cardstock, or even printer paper.
- An A2 sheet will create an A5 booklet.
- An A3 sheet will create a handy A6 booklet.
- An A4 page will create a tiny but very cute A7 size booklet.
Step 2 Fold paper
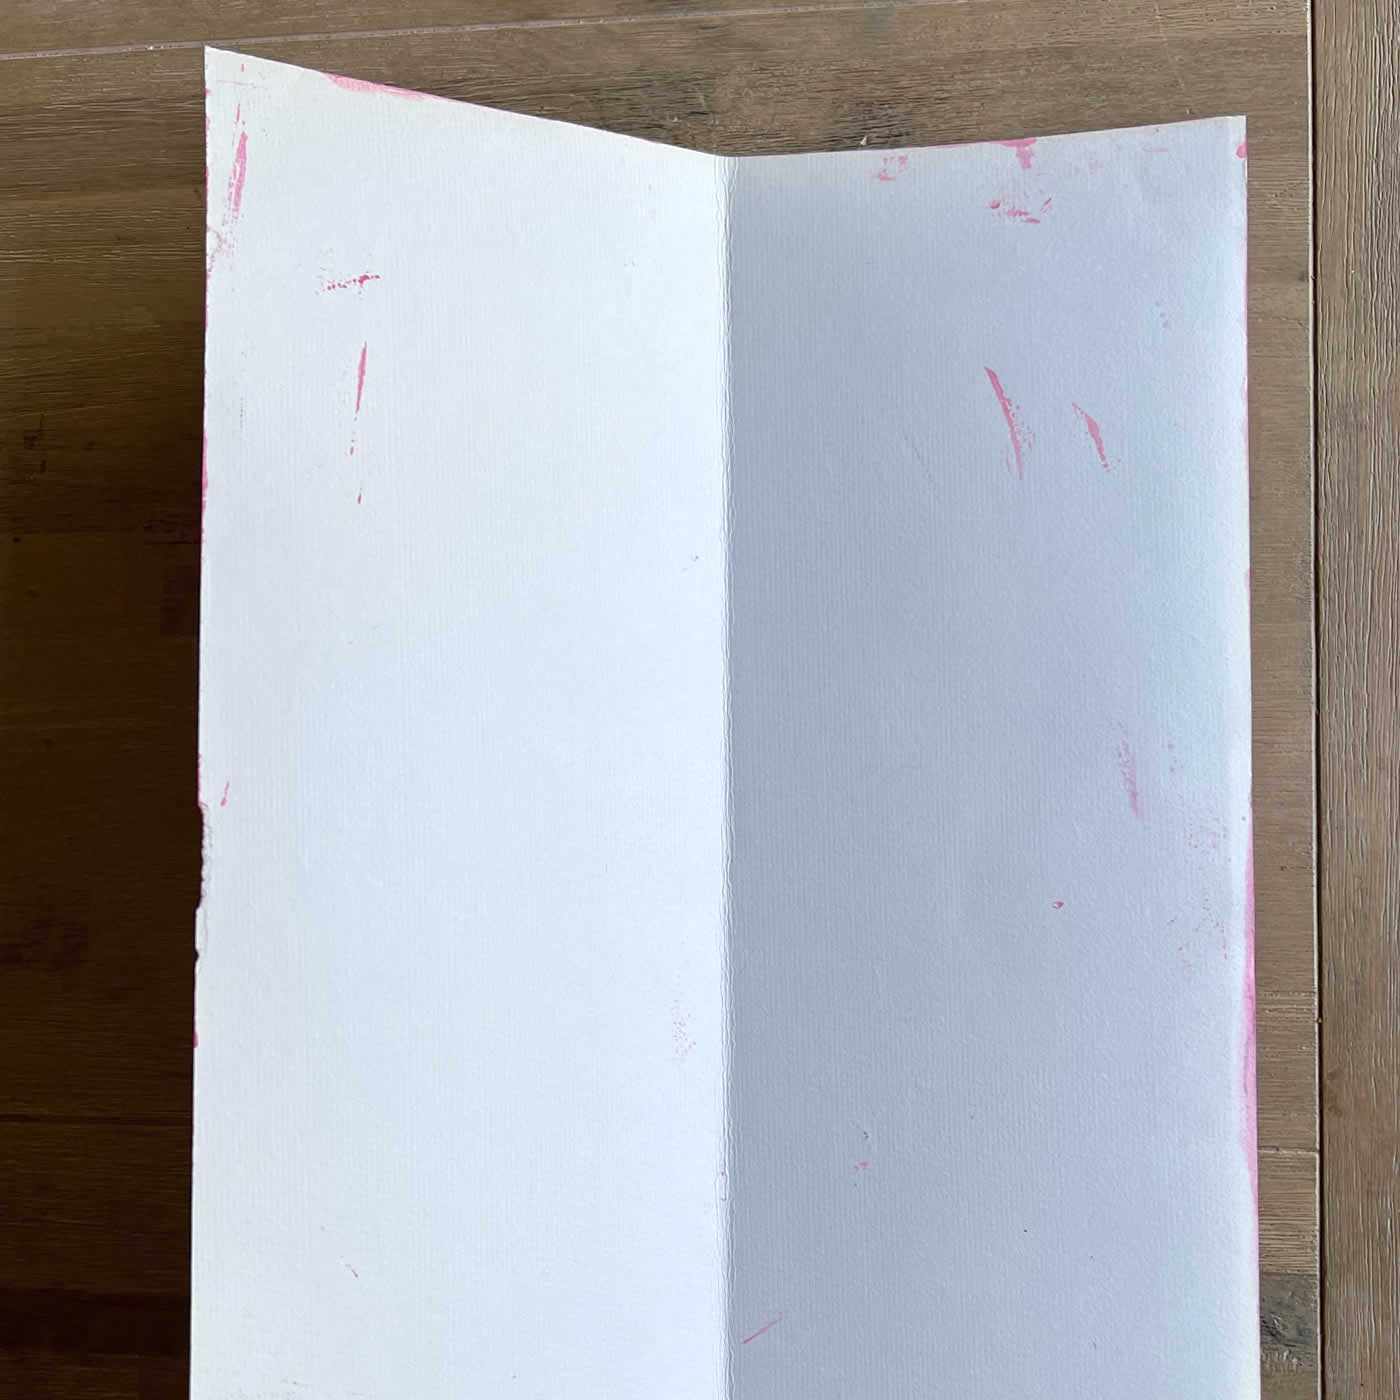
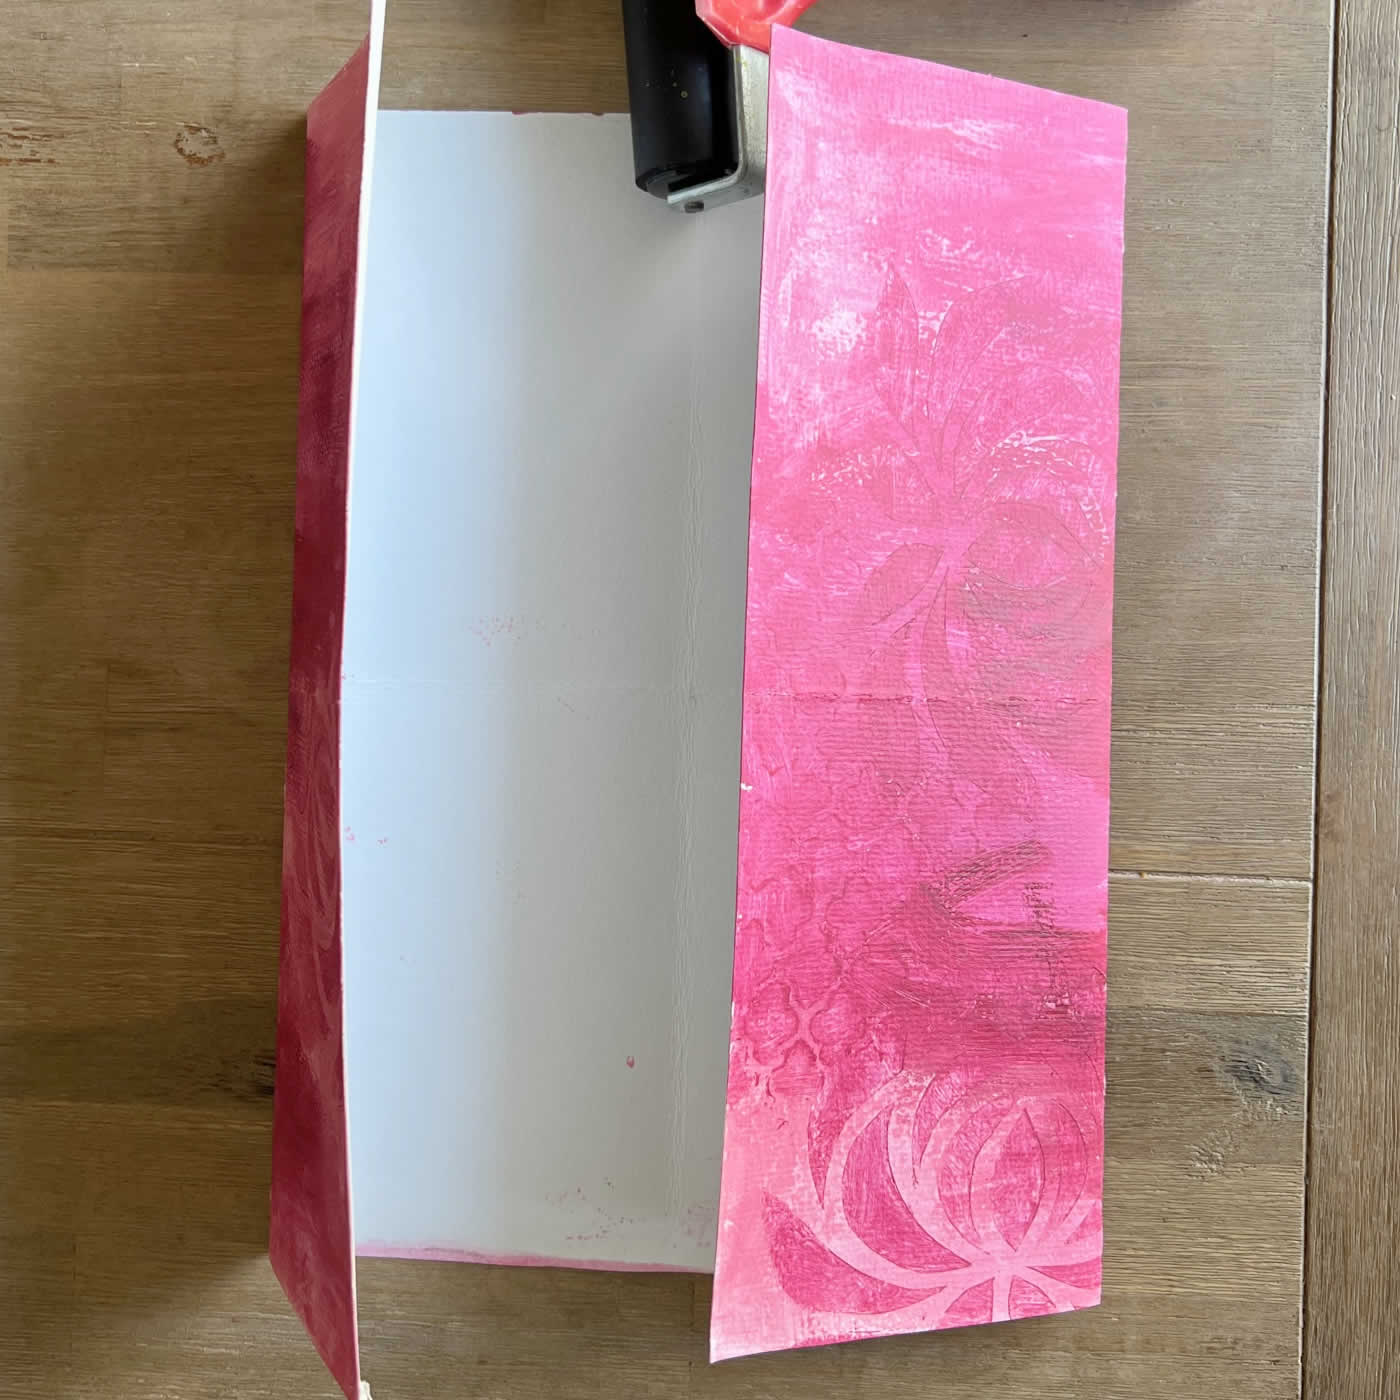
Fold in half lengthways (2a), then fold in half the opposite way. Create nice sharp folds.
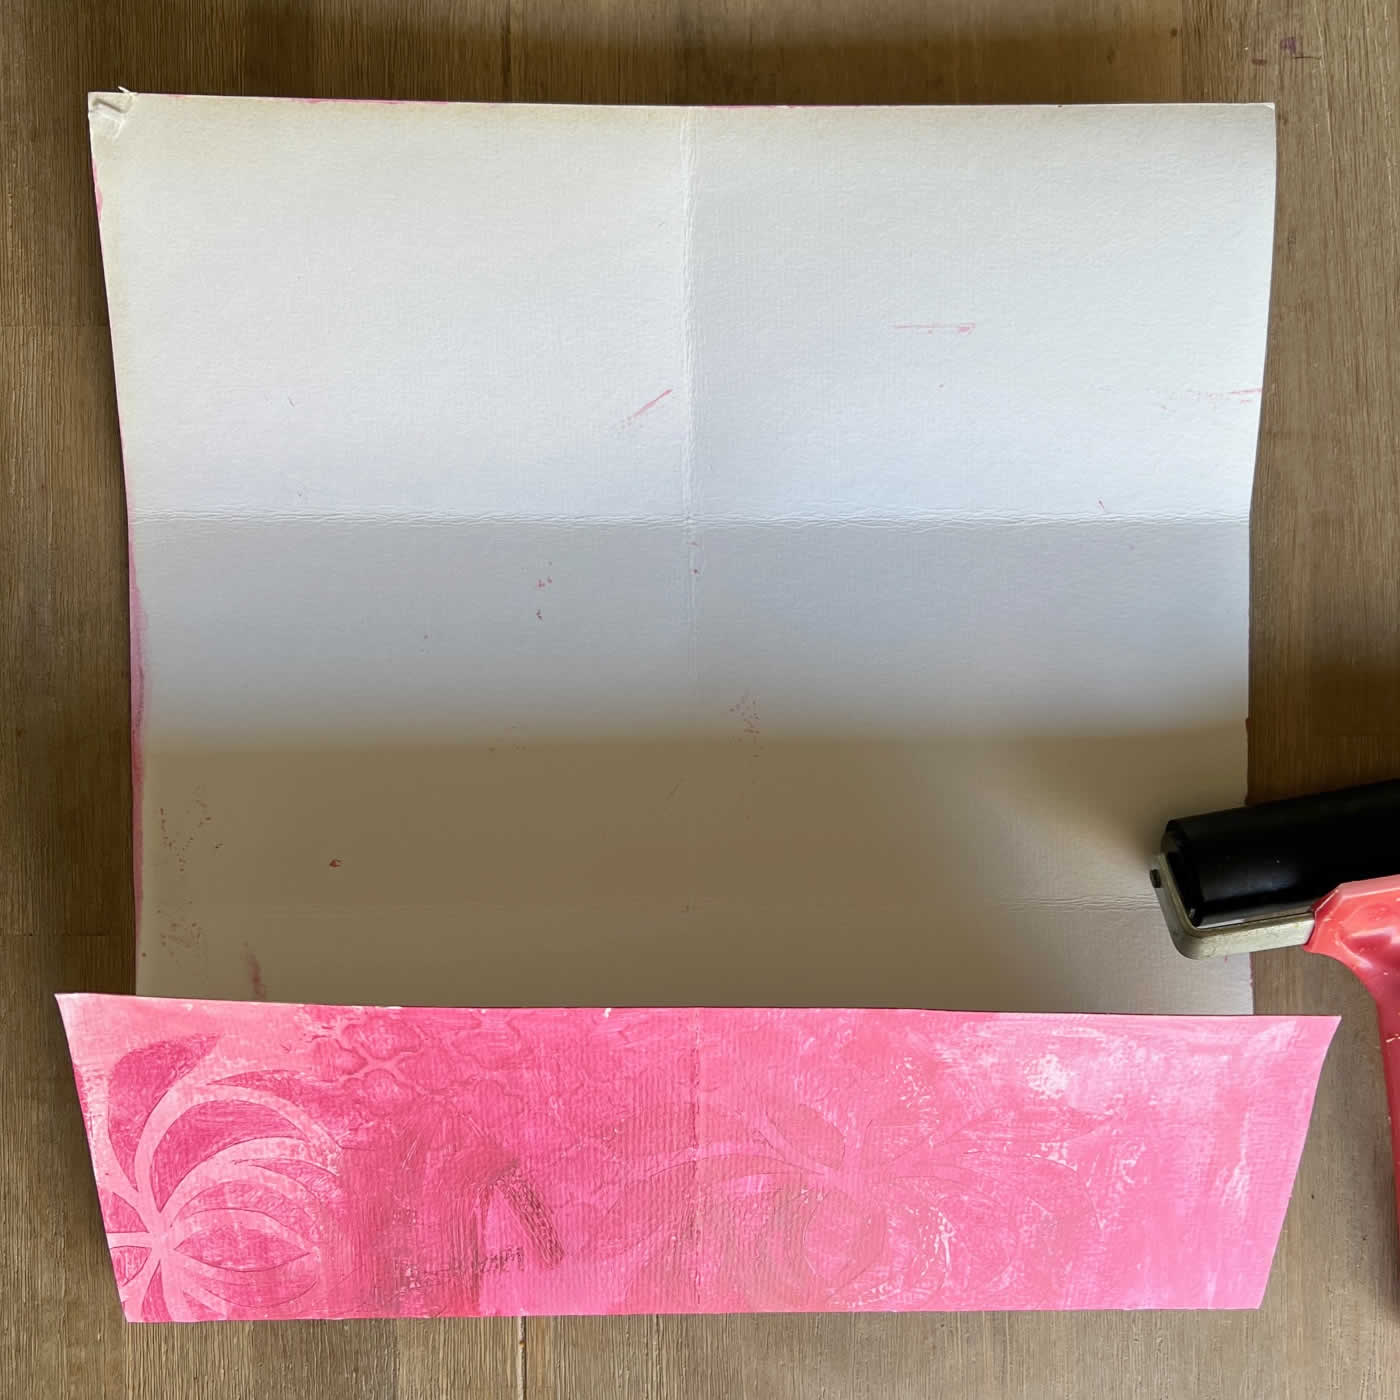
Now fold from the outside edge towards the middle on both ends (2b), so you now have a sheet with eight sections (2c).
Step 3 Cut centre line
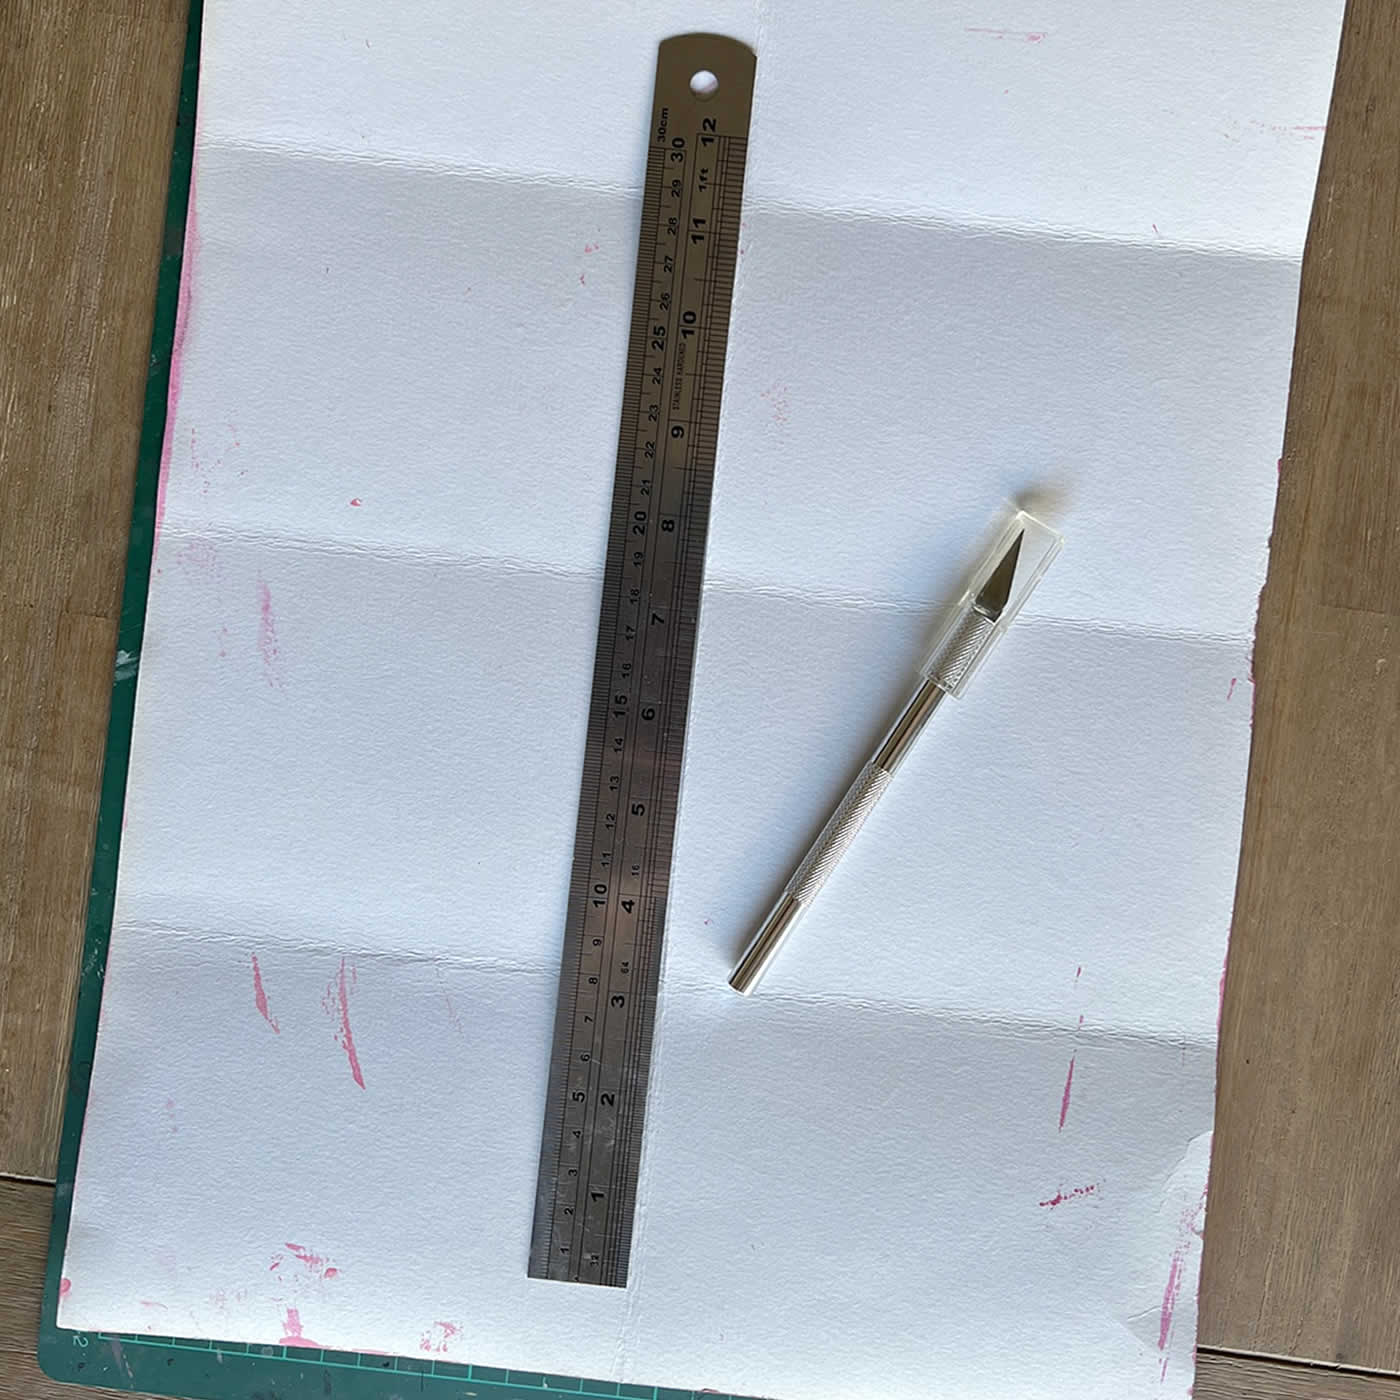
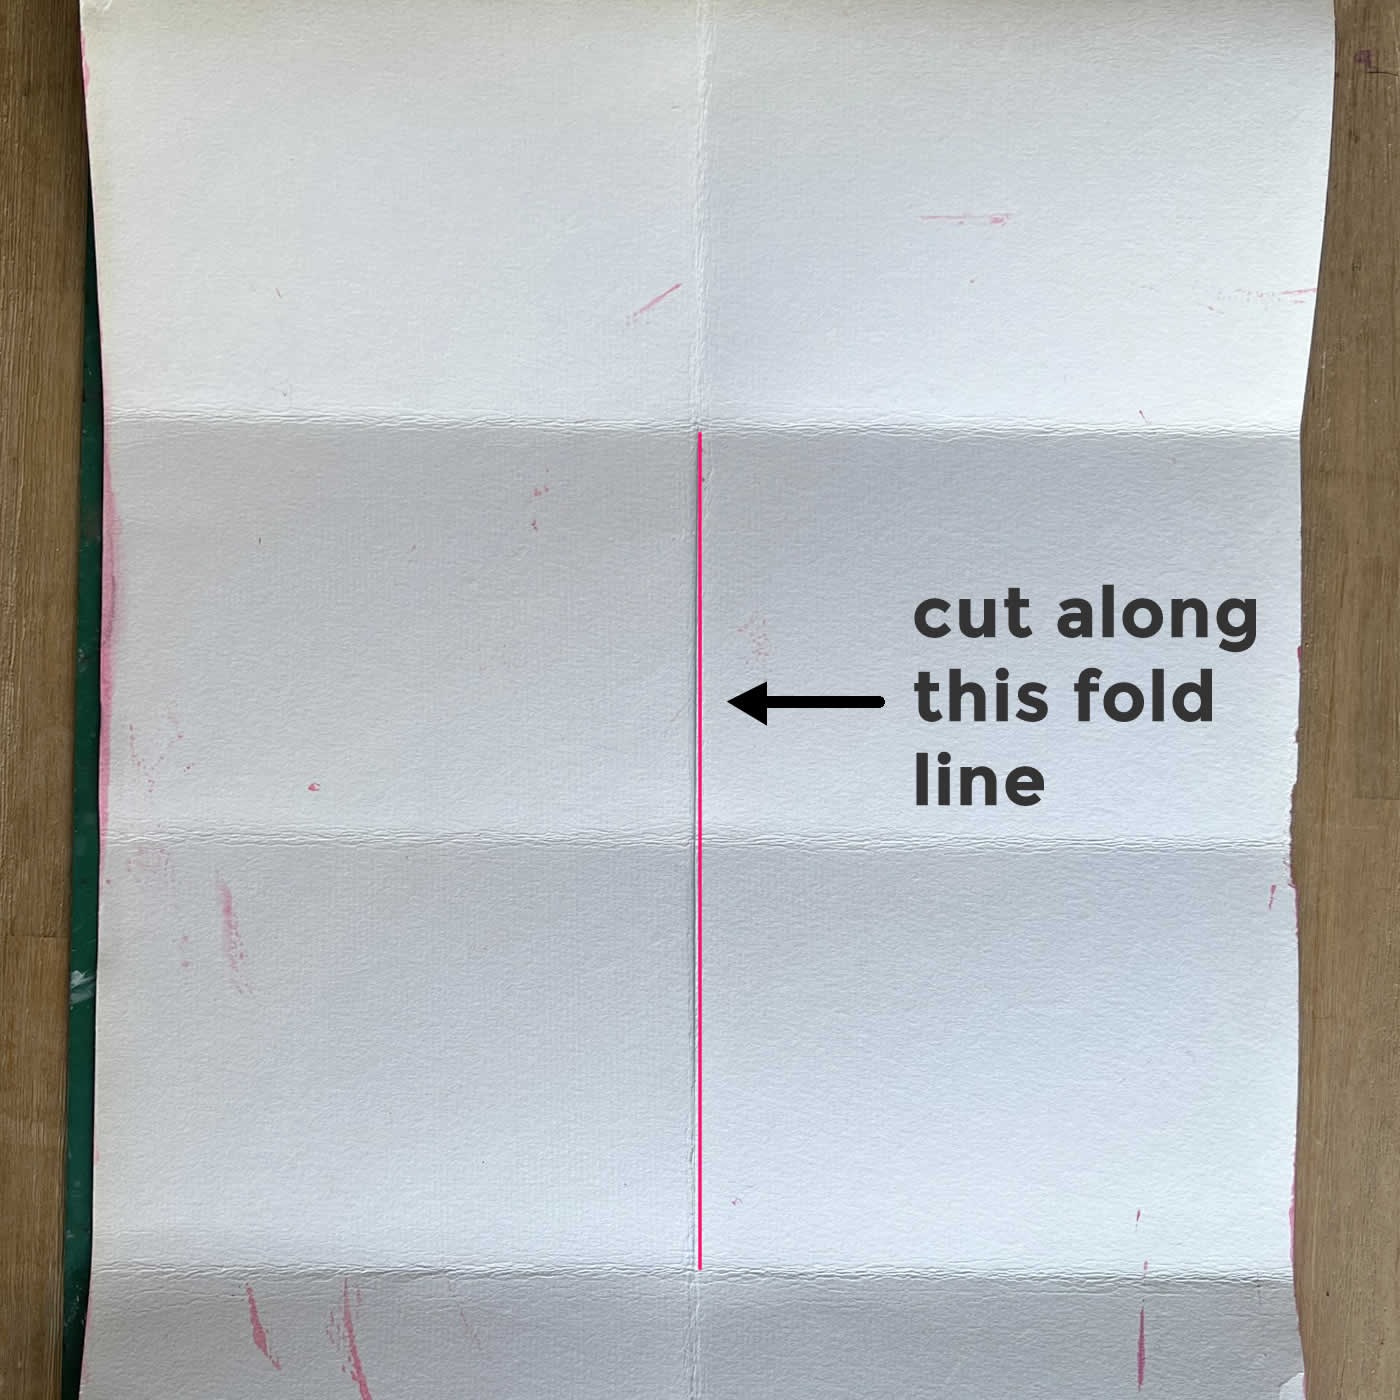
Open out flat and cut a line in the middle fold across the two centre panels as marked in the picture. You can use a cutting knife or make a small hole and use scissors.
Step 4 Create booklet
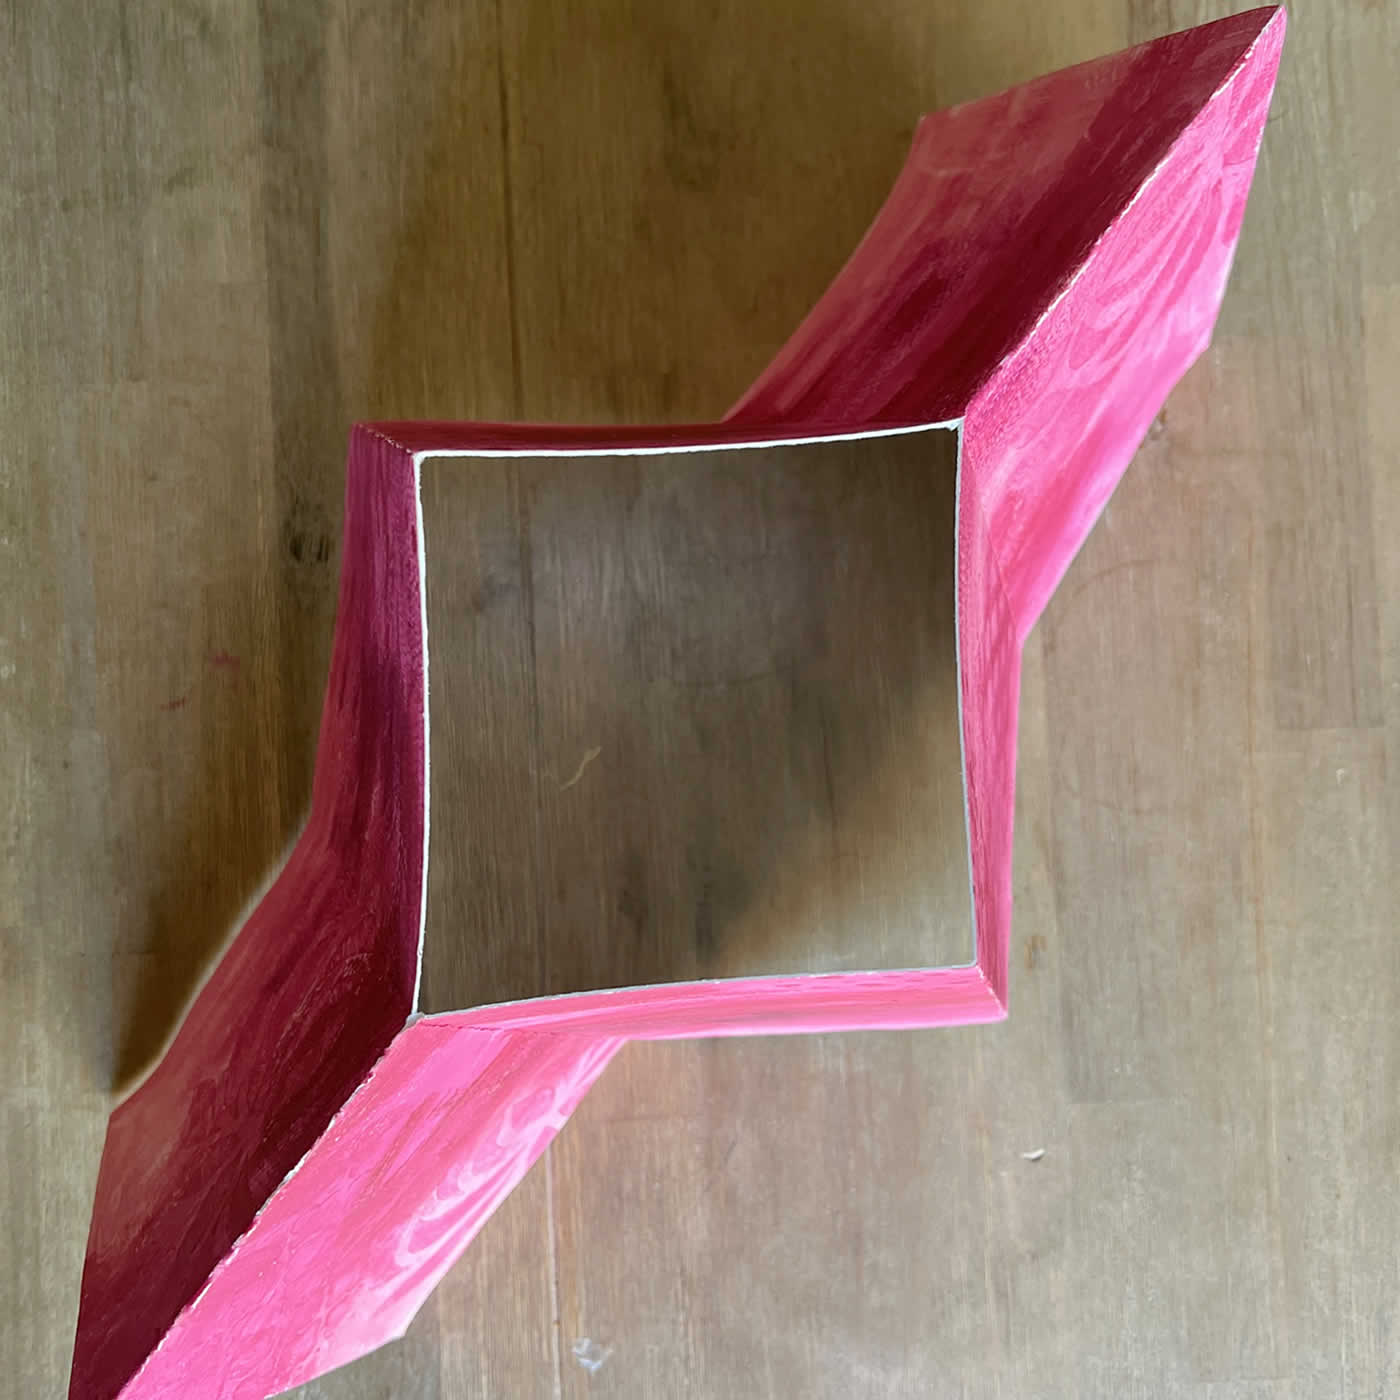
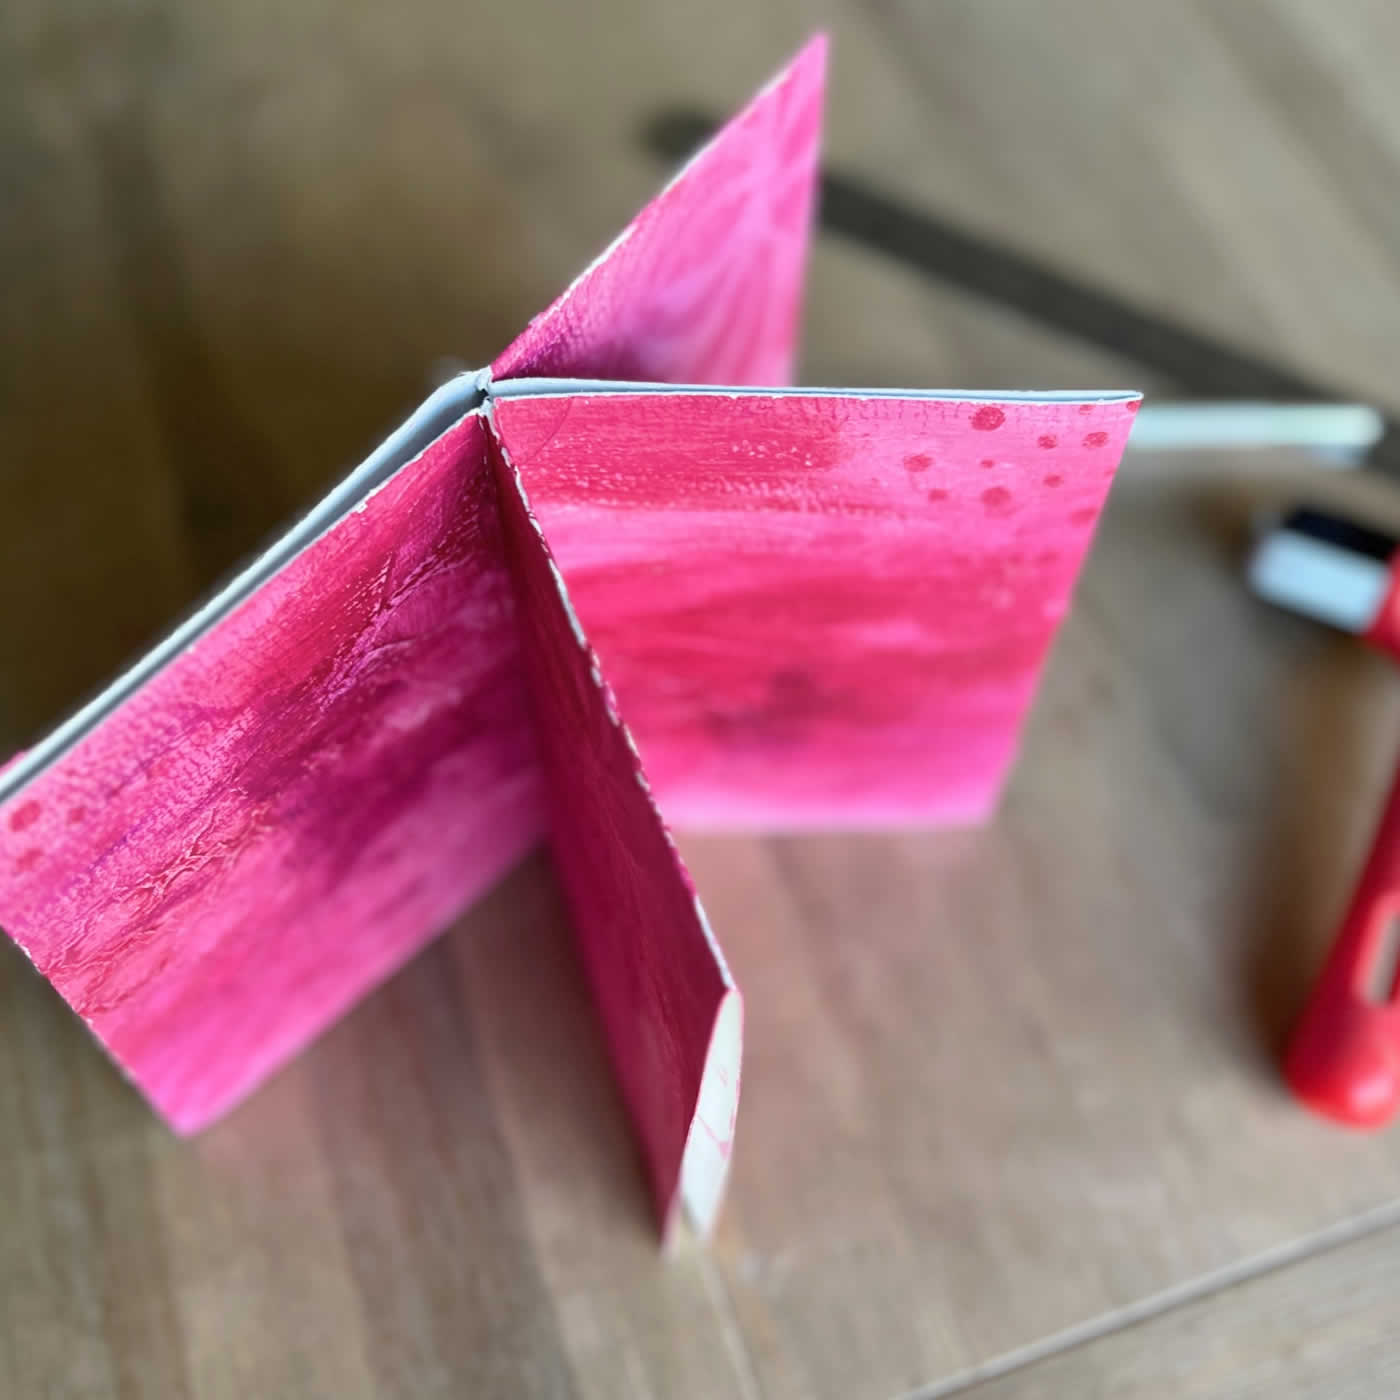
Now fold in half and open out the centre section (4a), by pushing the left and right sides together. This should now look like a folded booklet (4b).
Step 5 Glue
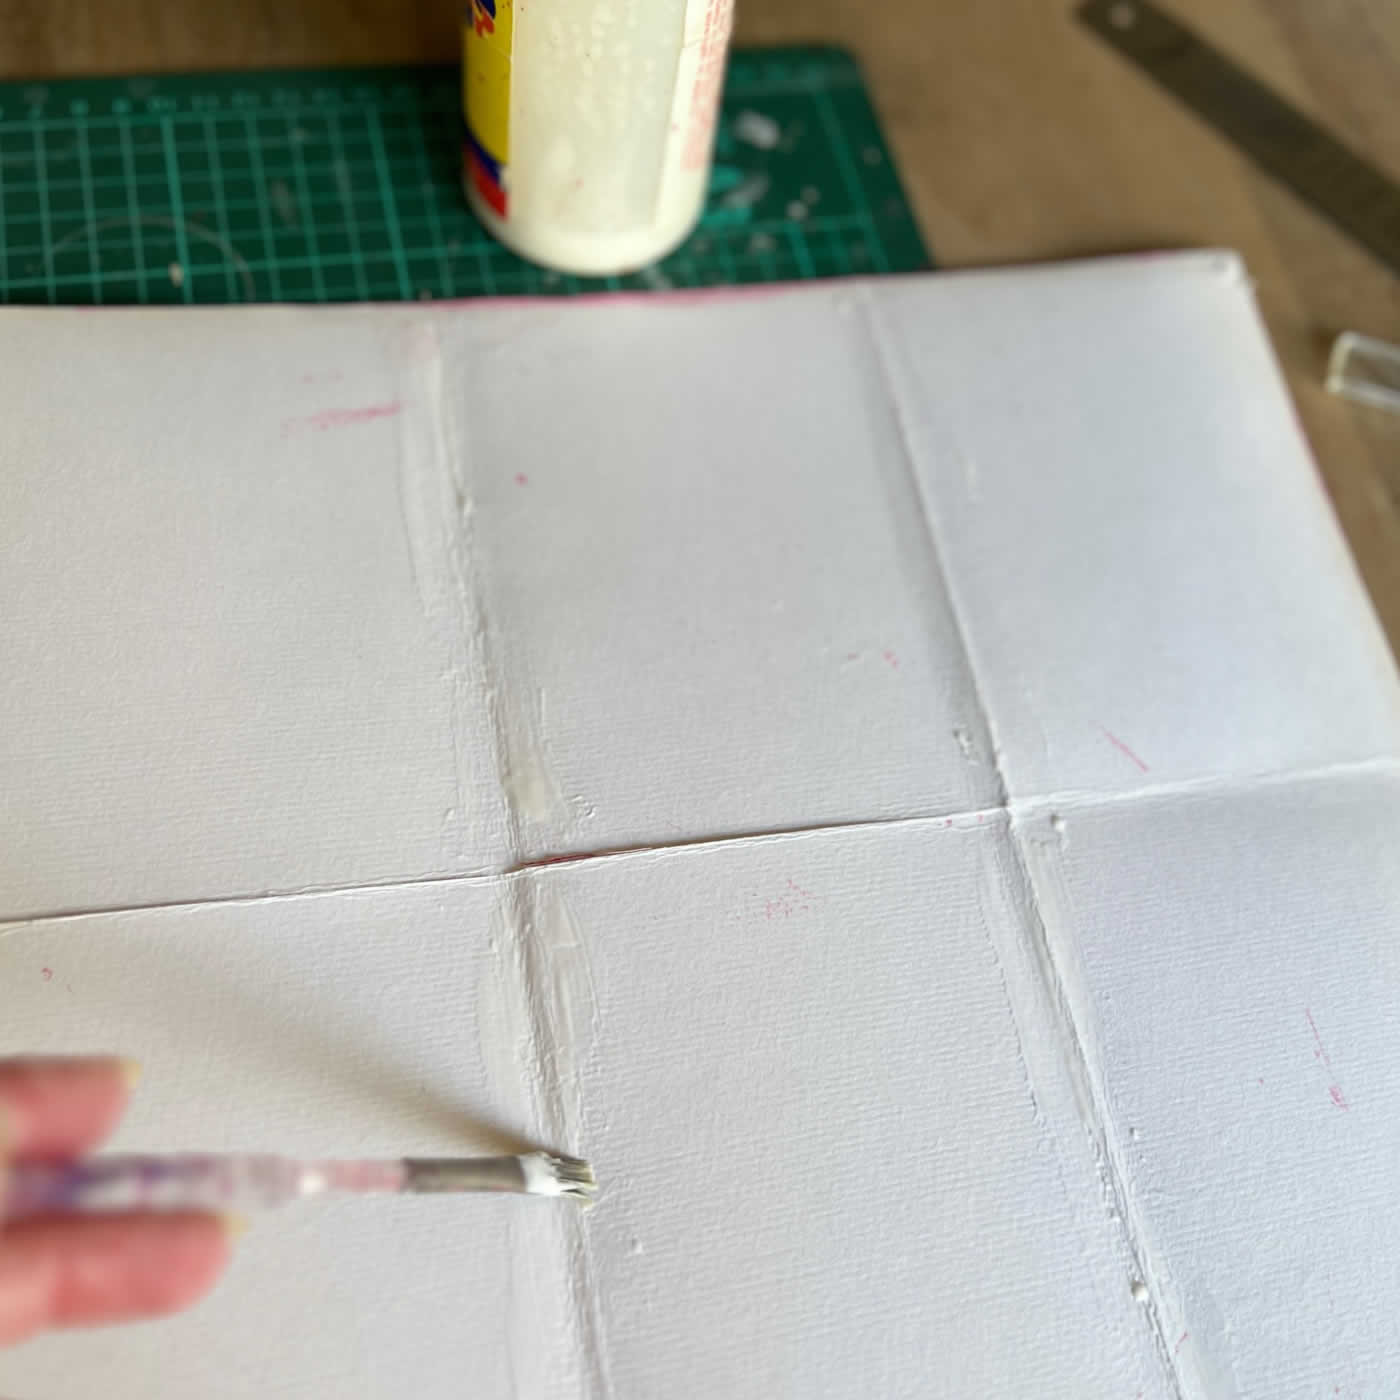
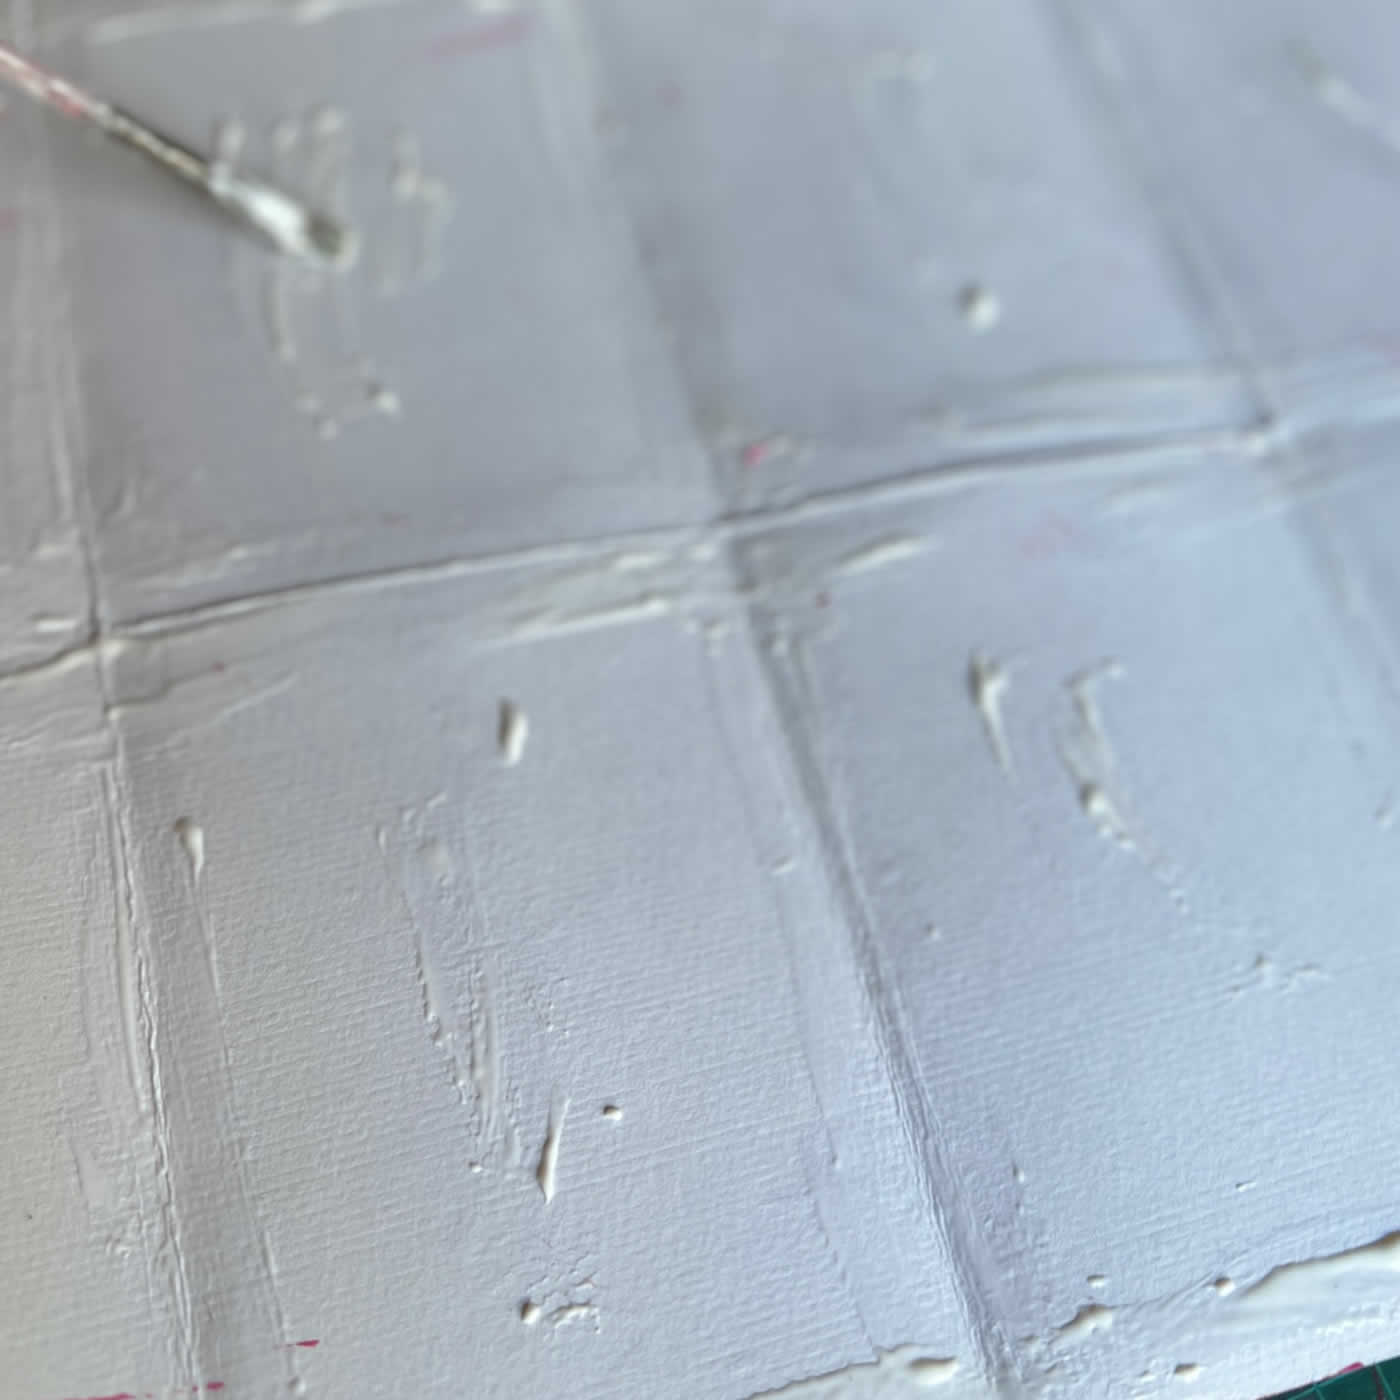
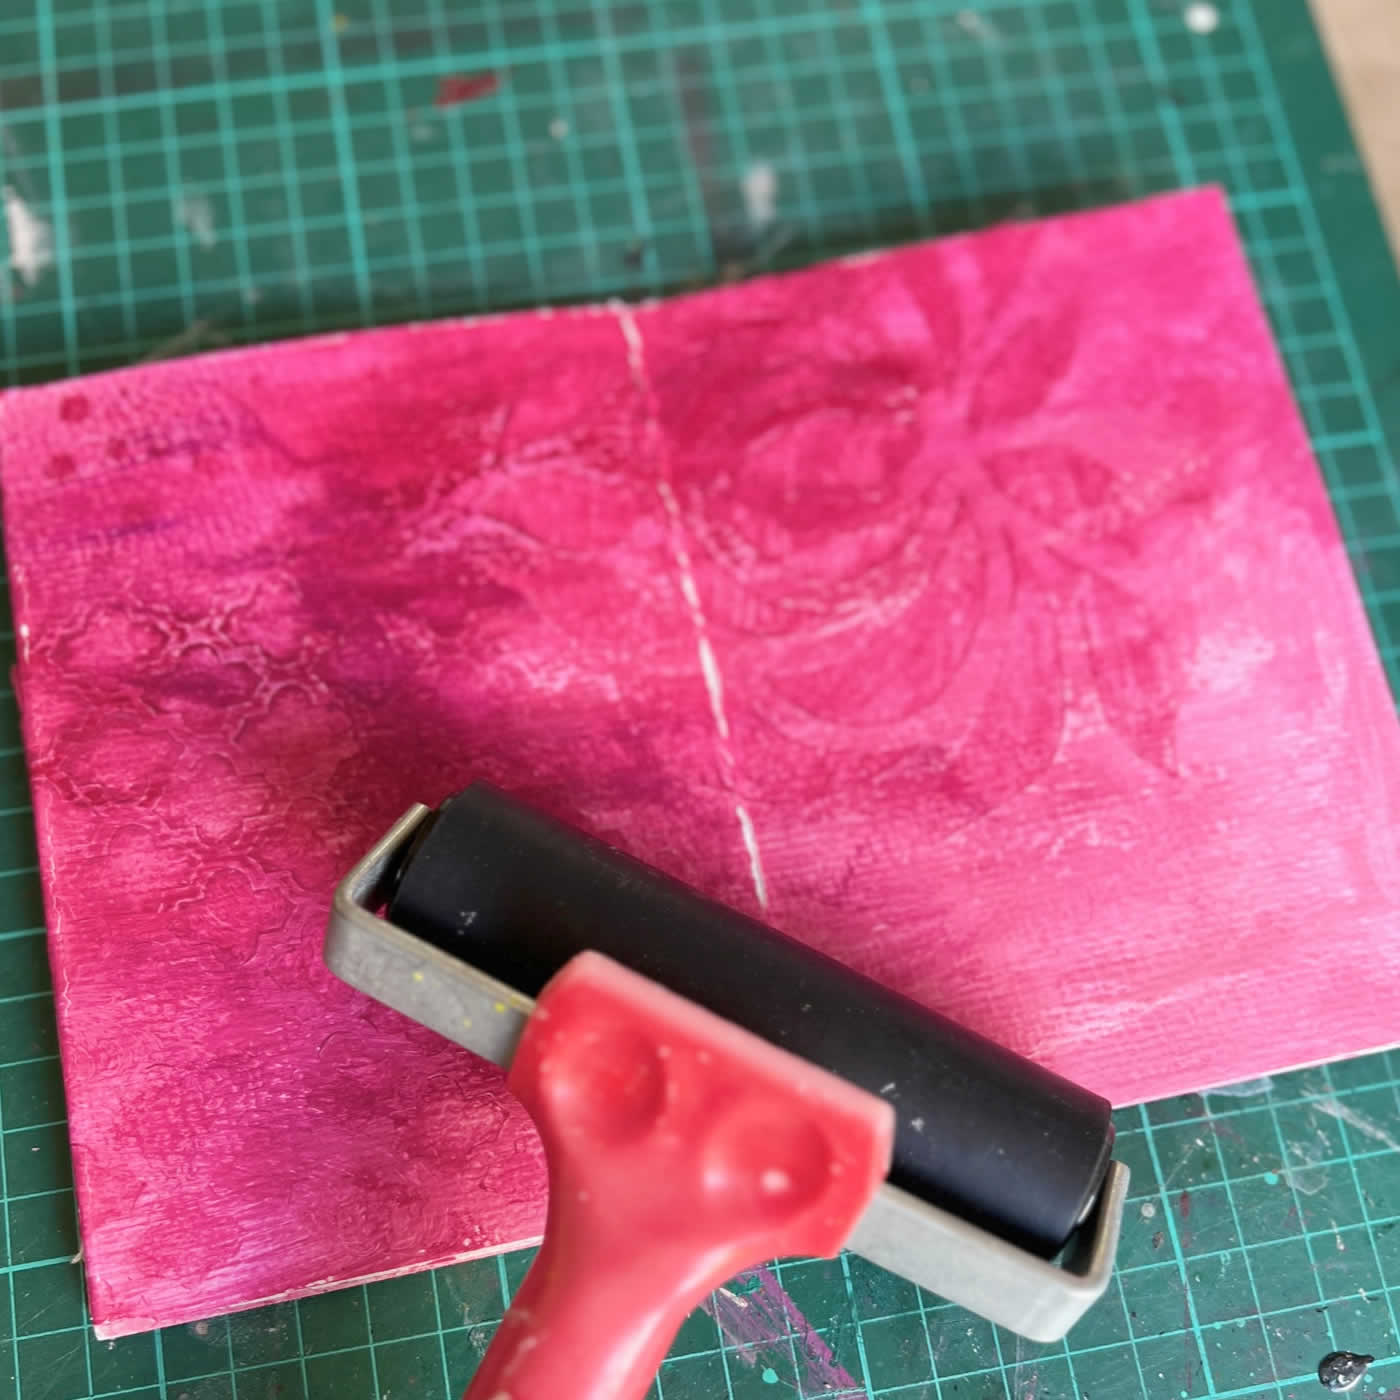
I use paper glue stick or PVA glue. Make sure you glue along all the edges and some in the middle of each section. Then refold making sure to open out the centre section before the it sticks together. Now you have the booklet. Press or roll on all the edges firmly and allow to dry.
Step 6 Finish and decorate
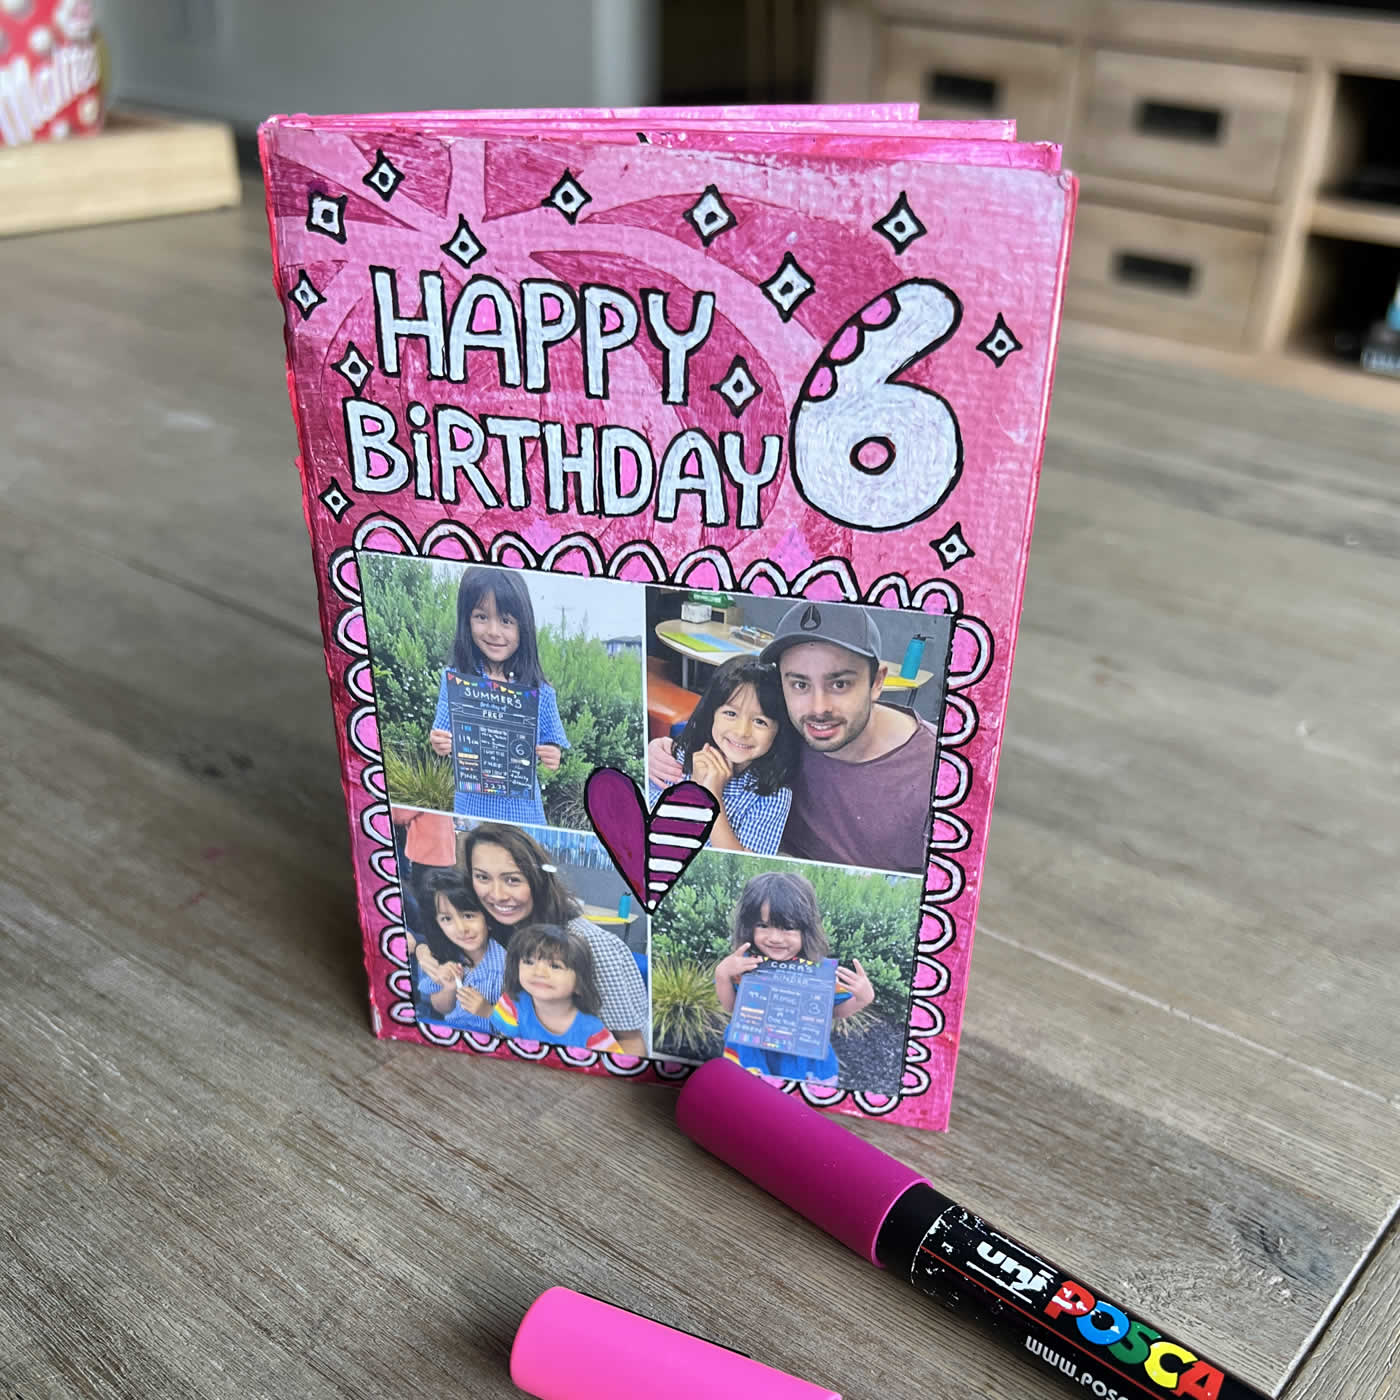
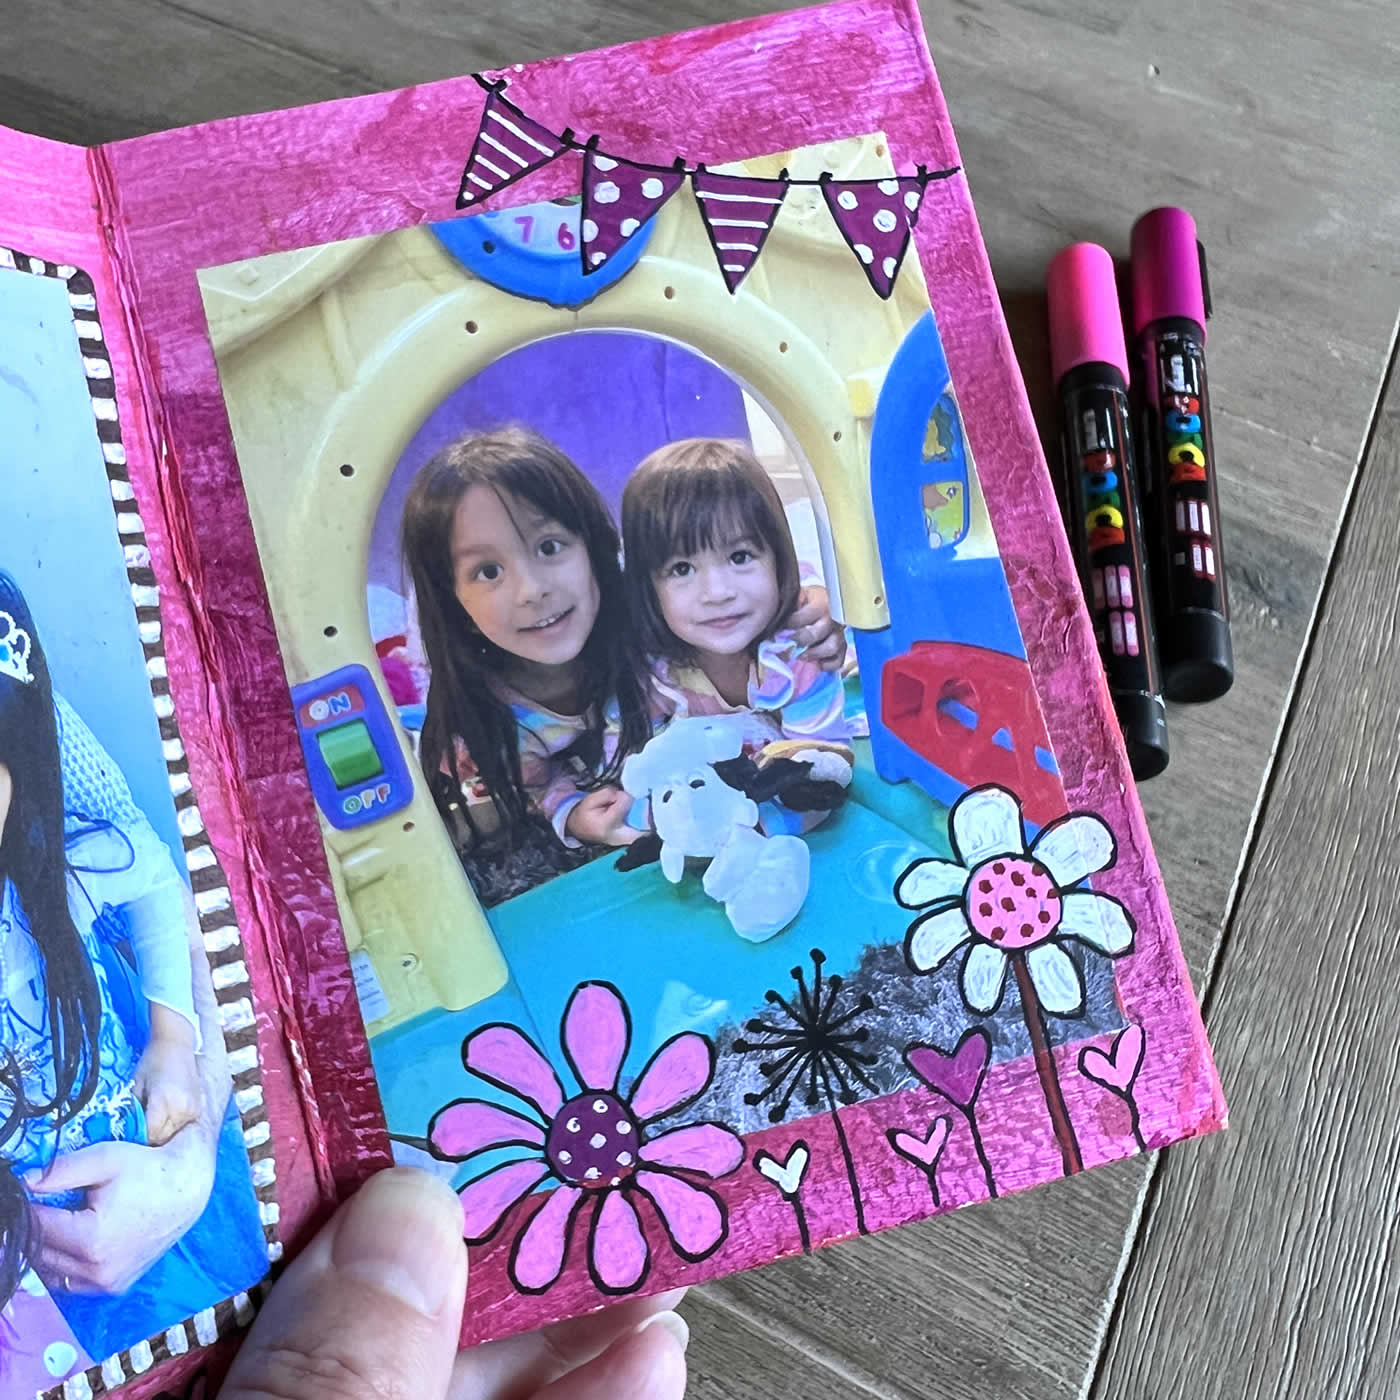
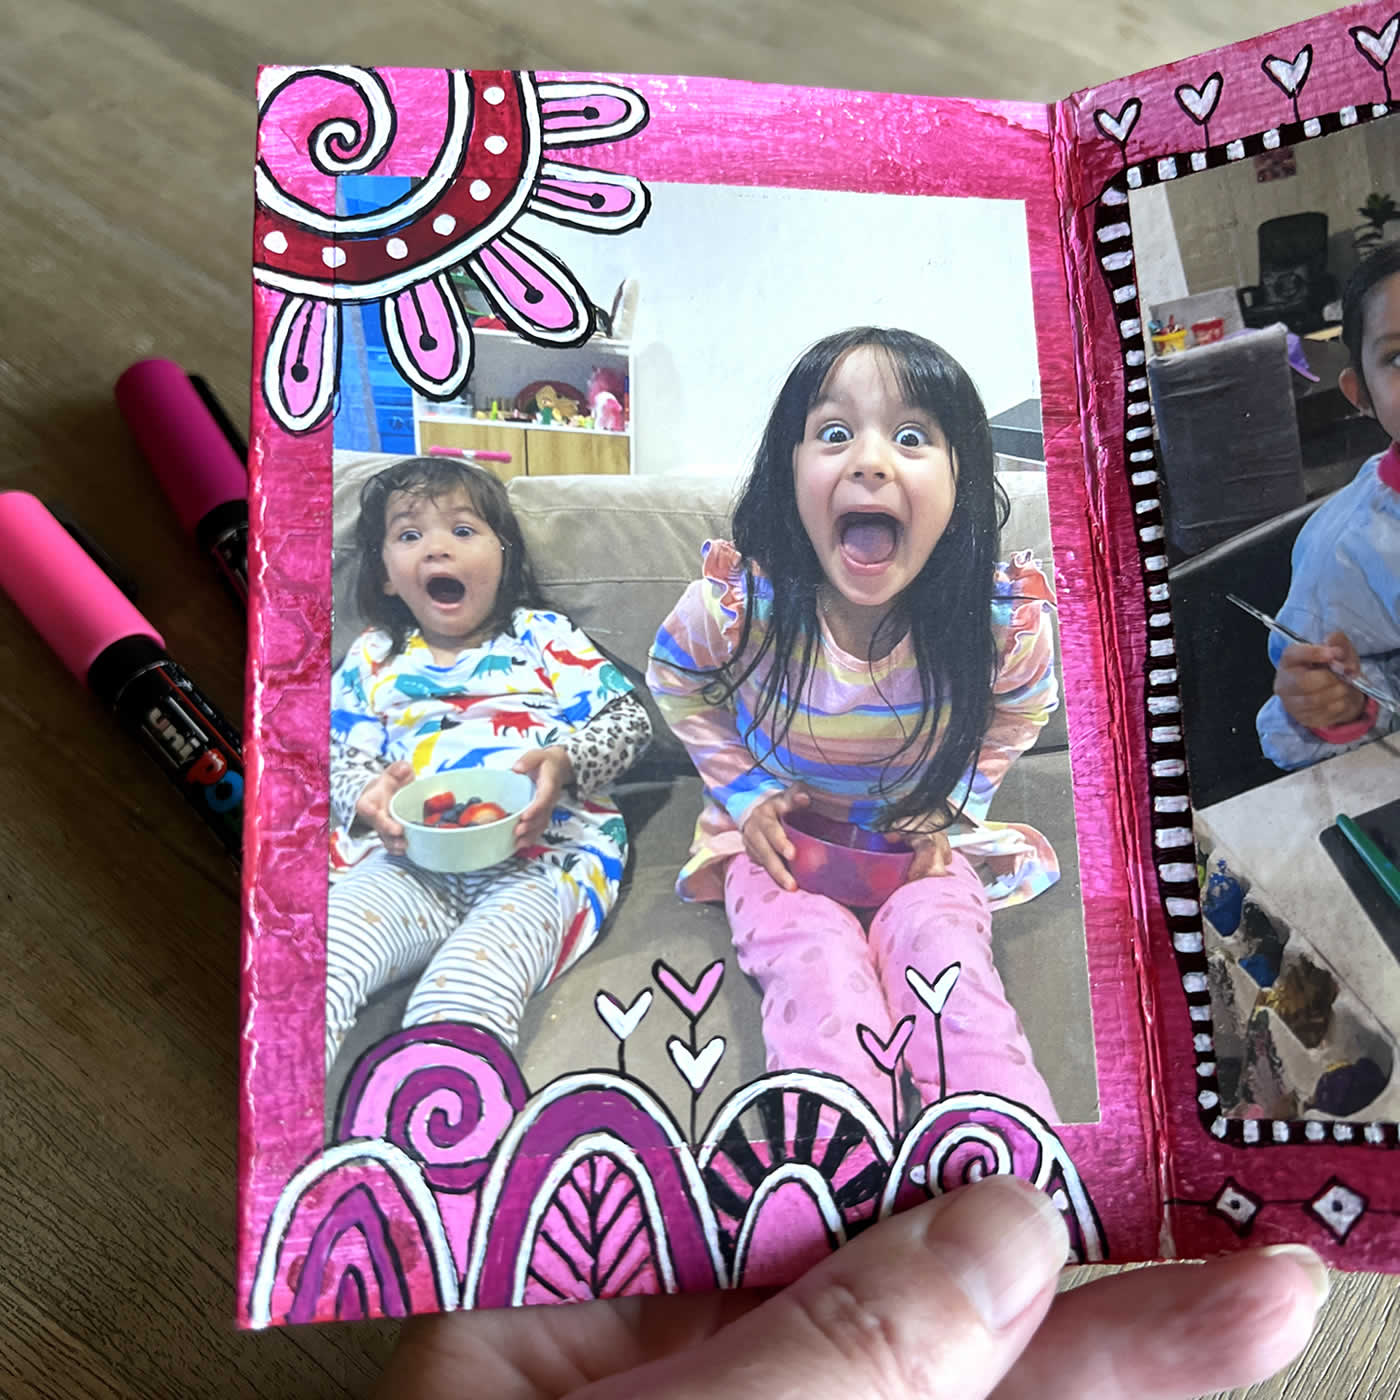
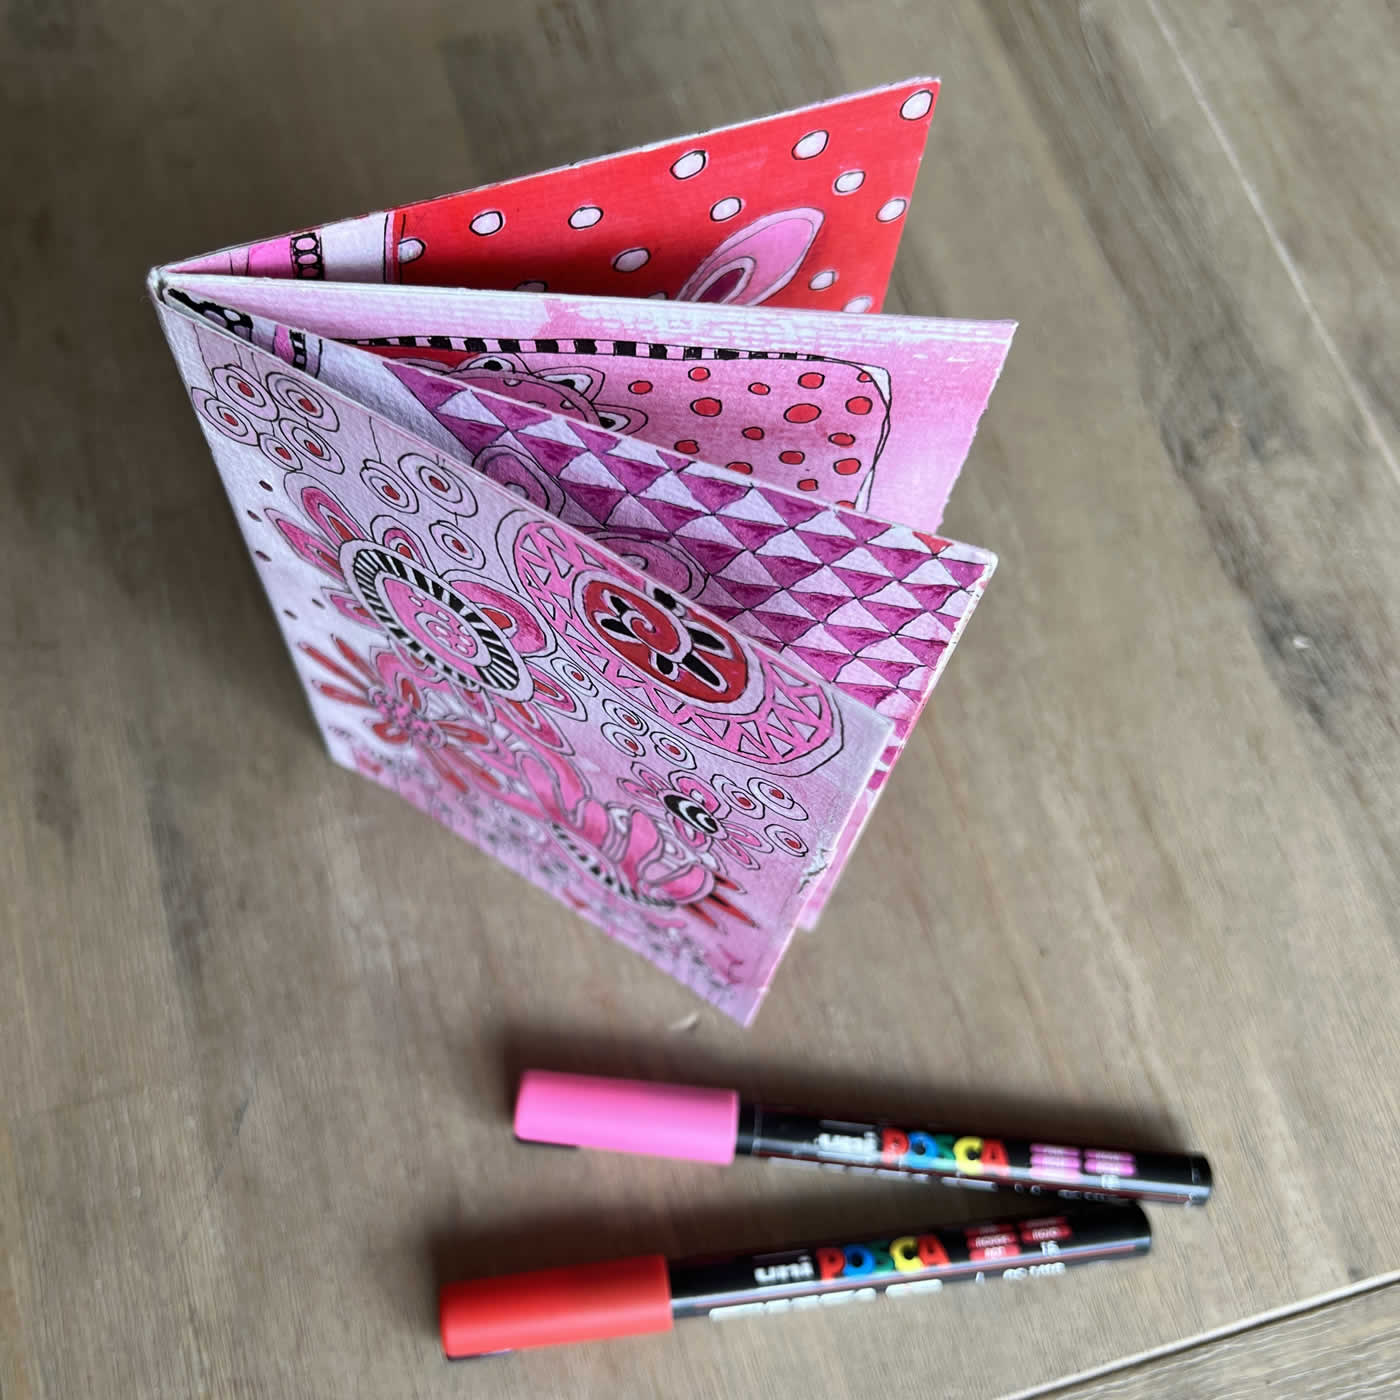
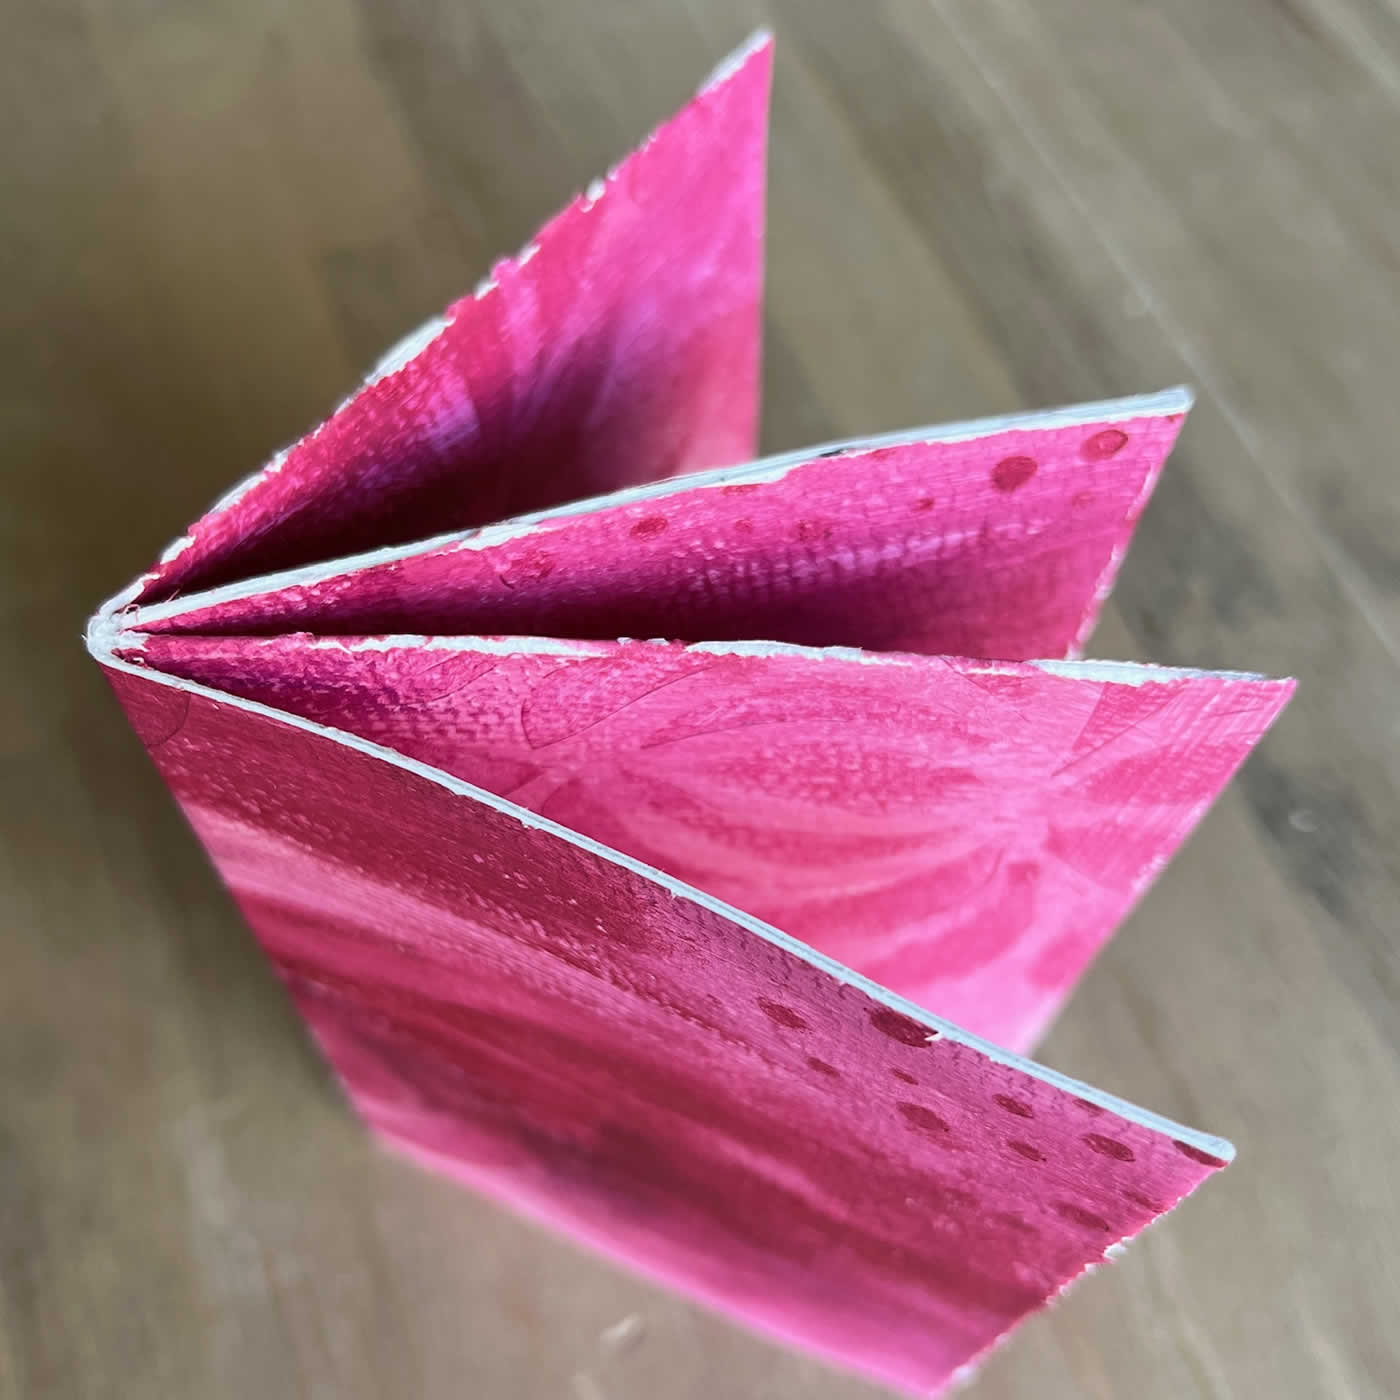
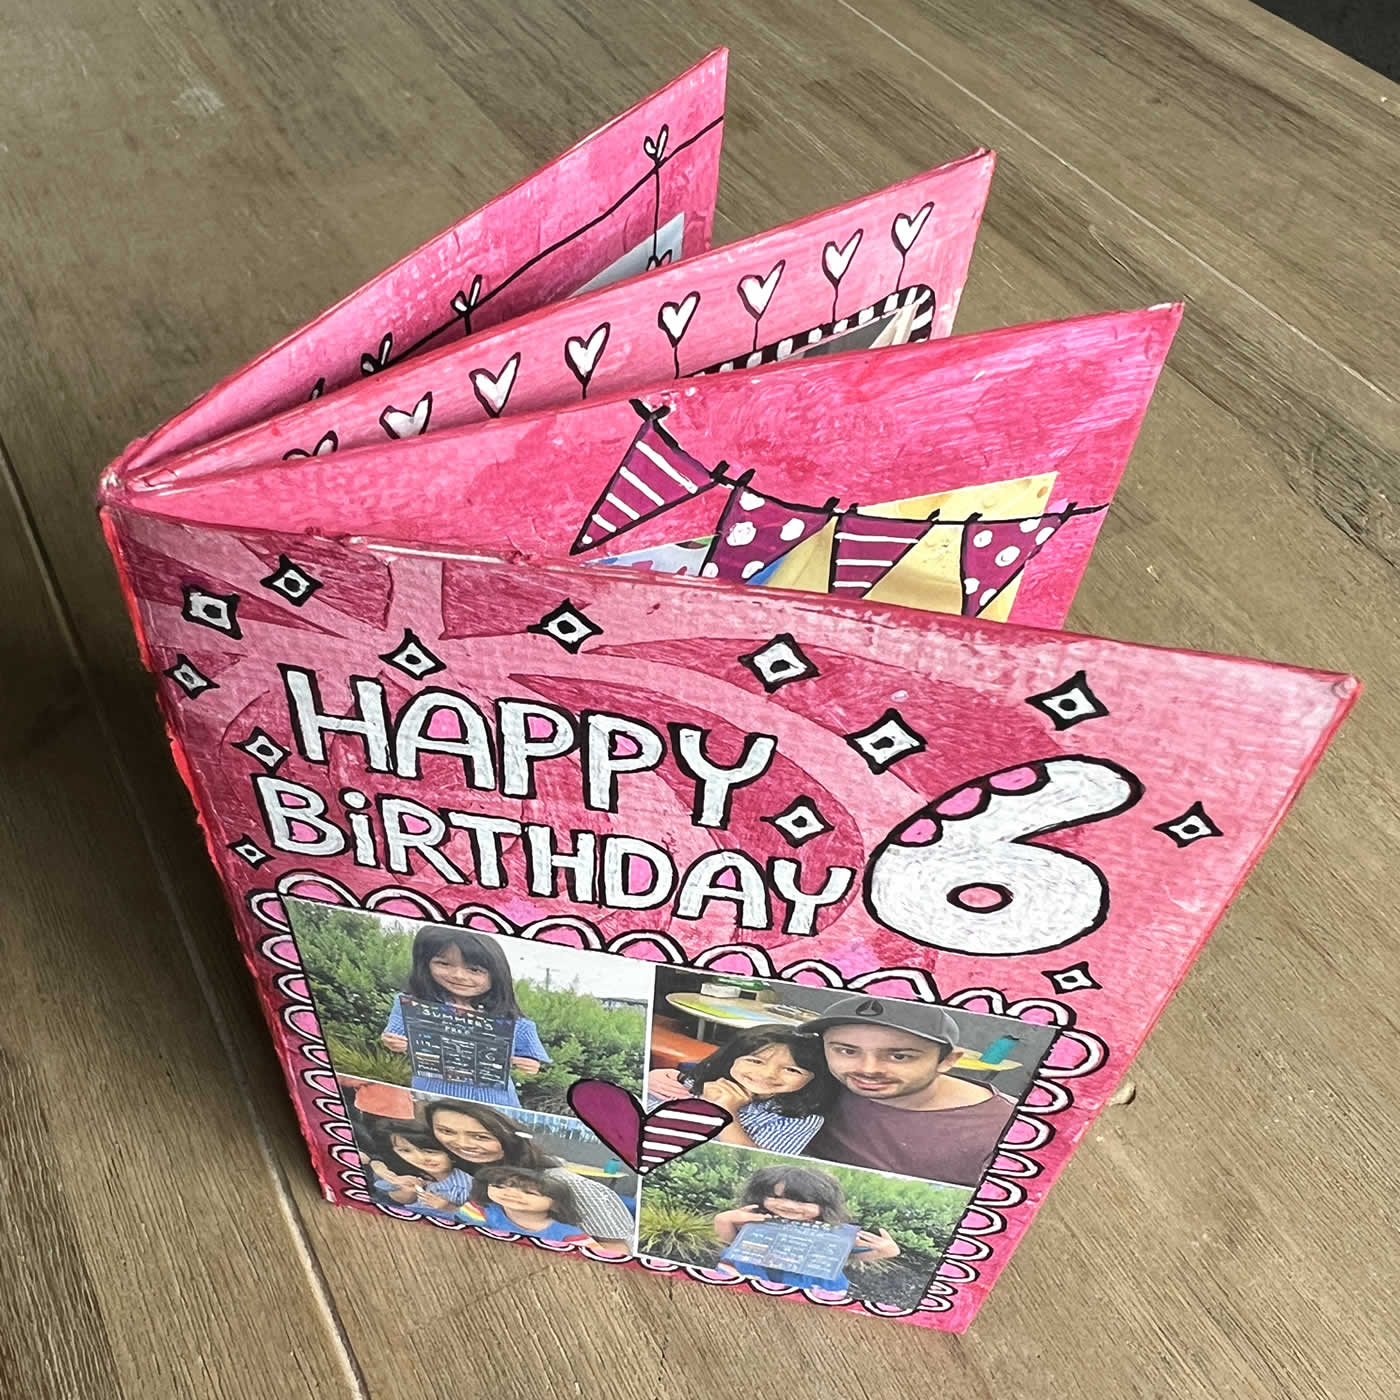
I like to doodle on the pages with pens to decorate them but you can do anything. You could add photos and decorate each page like I did for my granddaughter’s 6th birthday book.
I used markers to colour the white edges.

Gather your supplies
You can use a variety of materials, including markers, posca paint pens or life of colour paint pens, pens, pencils, watercolours, acrylics, collage materials, and more. Experiment with different supplies to find what works best for you and what you enjoy working with the most.
Start with a theme
Starting with a theme can help guide your creativity and give you a focus for your folded book. You can choose a theme based on your emotions, experiences, or interests. For example, you can create a birthday book, a monthly book, a travel book, a gratitude book, or a self-care book.
Experiment with different techniques
Art journaling is a great opportunity to experiment with different techniques and styles. Don’t be afraid to try new things, mix different mediums, and explore different techniques. Some techniques you can try include collage, drawing, doodling painting, lettering, and stamping.
Practice regularly
Art journaling is a skill that takes practice, so make sure to set aside some time regularly to work on your journal. You don’t have to create a masterpiece every time, but making a habit of working on your mini journal can help you develop your skills and express yourself more effectively.
Let go of perfectionism
Finally, remember that art journaling is a personal and creative process, so let go of the idea of perfectionism. Embrace imperfections, experiment freely, and enjoy the process of creating something unique and expressive.
Kids activity
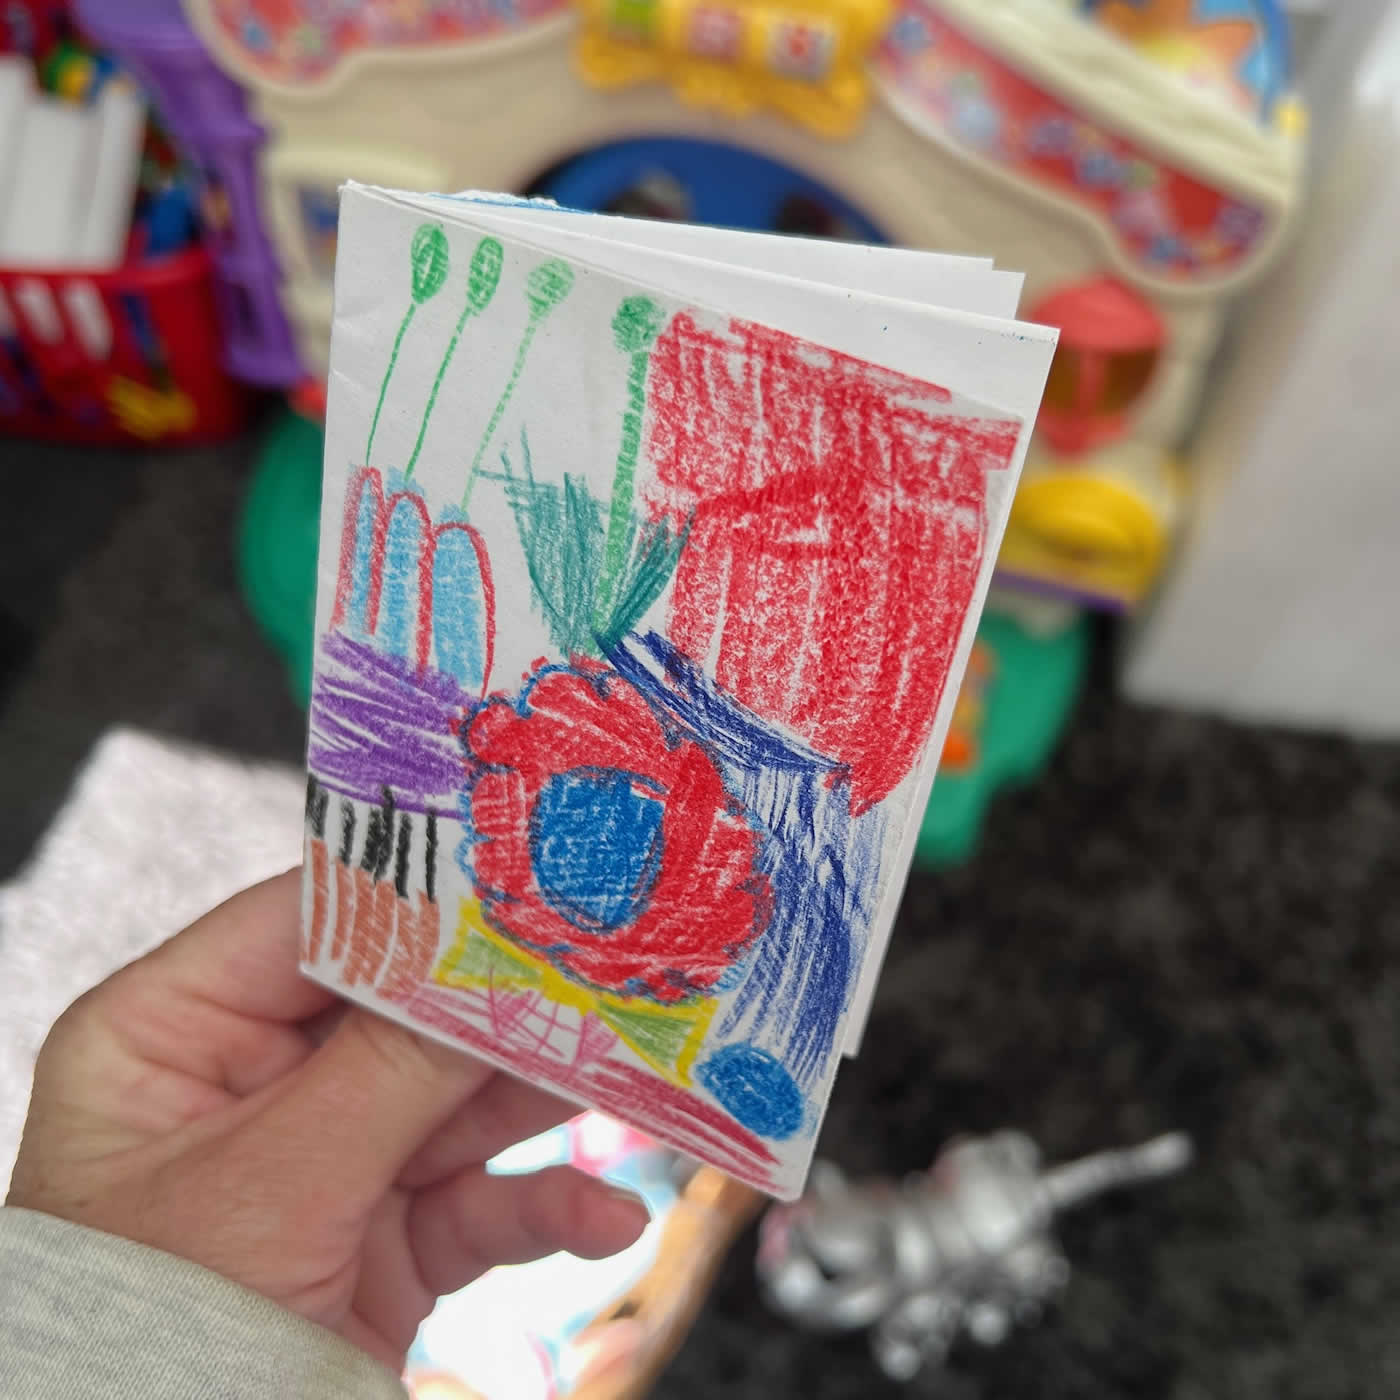
This is also a fun activity to do with kids of all ages. An A4 page will create a tiny but very cute A7 size folded book (as shown in the photos below).
You may need to help them create the folded booklet. Start with a blank sheet of paper, or paint and decorate the paper first. After it is folded, glued and dried, the kids can decorate their book with paint, markers, pencils, stamps, stickers…


I hope this post will inspire you to create your own mini art journal 🙂
